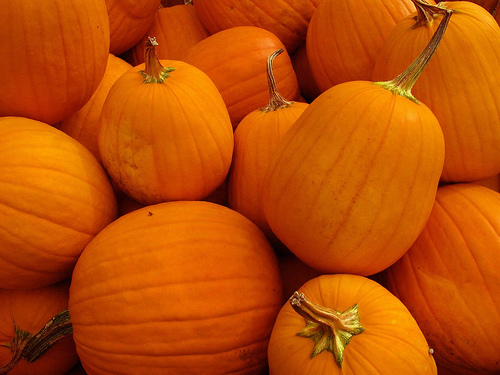
Yes, oh YES! It’s that time of year again! Pumpkins, pumpkins, pumpkins!!!
Needless to say, it is going to be an incredibly busy season for me. I am totally excited and getting everything ready that I can. For those of you who are also pumpkin-carving enthusiasts, you are probably doing the same. And for those of you who are new to the world of 3D pumpkin carving, this would be a great time to start purchasing tools if you haven’t done so already.
Even though I have a decent-sized pumpkin carving tool inventory, I definitely want to make sure I have back-ups. You never know when tools are going to finally give out and break. During a pumpkin carving event I can’t afford to to loose an important carving tool in the middle of the process. Heck, even when I’ve only carved 3-5 pumpkins for the season I’ve had tools randomly break or come apart. So it is always a good idea to have back-ups.
Now, if you are just a 3D pumpkin carving beginner, click here to see a basic list of my recommended 3D pumpkin carving tools. Some of the tools on this list are a repeat of my last list, but a lot of the tools are new items I have added to my tool box this year to make carving go even more smoothly, and to make displays even more fun!
(I would like to add that I personally order about 95% of my tools from Amazon.com. I find they have the best selection, and the prices are generally a lot cheaper than in store. And if you have Amazon Prime, you can get free 2-day shipping!)
(If you don’t have Amazon Prime, they offer a free 30-day trial. Here’s a quick link in case you want to sign up for Amazon Prime’s Free Trial: Join Amazon Prime – Watch Over 40,000 Movies & TV Shows Anytime – Start Free Trial Now )
)
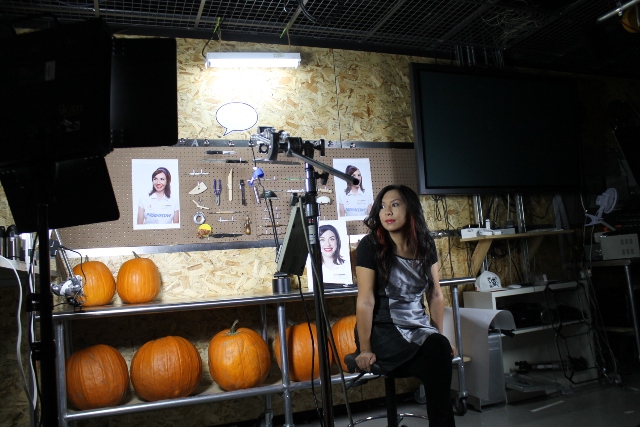
The tools and props below are the EXACT ones that I ordered. I have provided pictures and links to each item.)
1.Kemper Mini-Ribbon Tool Set
These are the tools I use for sculpting very fine details in each pumpkin. They are Kemper brand, and they are about 5 inches long and are excellent tools that will last a very long time if you treat them well. A MUST have if you will be doing fine detail work.
2. Kemper Pottery Tool Set
Although you will not use everything in this kit, you do end up using a majority of it. And this is a GREAT kit for all skill levels. The large loop tool is used for scraping off outer pumpkin skin as well as blocking in large shapes. The double-ended ribbon tool is used for a majority of the sculpting. The needle tool is used for scraping out fine detail. The wooden modeling tool is used for smoothing out lines and fine detail. And the yellow sponge allows you to take a bit of water and wipe off stray “pumpkin bits” off the pumpkin’s shell and off of the carved area after you’re all done.
Please note that there is a cheaper version of this clay-sculpting kit (NOT Kemper brand, I believe it is Stalwart brand) that I mention in my previous 3D pumpkin carving tool post, but again, I cannot attest to the quality, however it contains all of the same items and did get good reviews. Click here to check it out.
3.Stainless Steel Julienne Peeler
I have mentioned before that a traditional vegetable peeler just doesn’t cut it for me (no pun intended) when it comes to peeling the rind off of a pumpkin, especially a tough rind. This, however, seems to get the job done. Usually 3D pumpkin carvers will take a large pottery/sculpting loop tool and scrape off the outer pumpkin rind before they start to carve. However, I personally don’t like the stress it puts on the loop tool – if you’ve ever done this, then you know how tough pumpkin skin can be! I’ve broken a few loop tools because of it. This heavy-duty julienne peeler really helps ease the process and seems to be the only other thing I have found (besides a Ped Egg) that will peel through tough pumpkin skin.
4. Birds Beak Paring Knife
There are some things I can’t live without when it comes to 3D pumpkin sculpting, and THIS is one of them. If you have any desire whatsoever to create clean, detailed cuts, lines, and the like, then you NEED a birds beak paring knife. I don’t even care if you get this one, just, PLEASE , for the love of carving, get yourself a birds beak knife! I didn’t use this knife for the first 2 years I did 3D pumpkin sculpting, and quite frankly, I’m sad I didn’t use this sooner. It does take some getting used to, but once you do, you’ll never look back – It will totally refine your work. I don’t really NEED 2 of them…but I have 2 of them…. 😉
5.Super Glue!!
I just found out last year that Super Glue is the only glue that will bond wet pumpkin flesh to wet pumpkin flesh. You never know when an accidental slip of a carving tool will happen and end up chopping off the tip of the nose of your sculpture (Been there, done that!). This is a MUST have for any tool kit of a 3D pumpkin carver!
6. A Brow Brush……..wait, what?…..
Yes, you heard correctly – A brow brush. As in, a brush for your eyebrows. However, that’s not what this little guy is used for when it comes to pumpkin carving. This is an amazing tool to keep for detailed clean-up in harder to reach areas, such as deep folds and wrinkles or between strands of carved hair (and yes, I’m still talking about pumpkins, not people. 😉 ) You’ll find that when carving, a lot of little stray pumpkin bits get lodged in weird, hard to reach areas on the pumpkin, and this little brush is soft enough to wipe out unwanted pumpkin spatter without damaging your work. (P.S. I suppose you could use a pipe-cleaner for this same purpose, but I like the fact it’s durable and that I can just wash this out and reuse it.
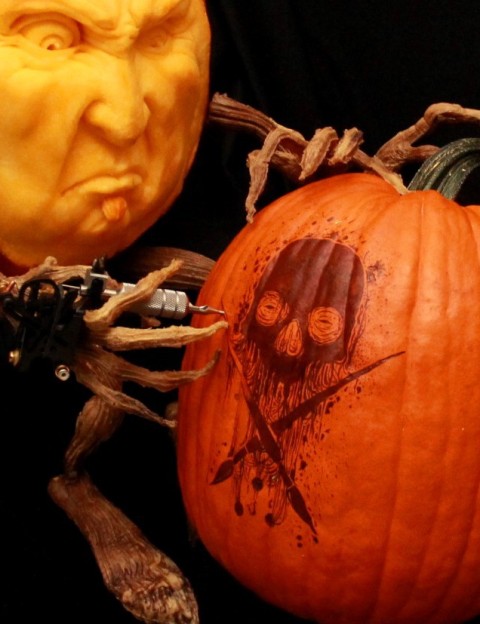
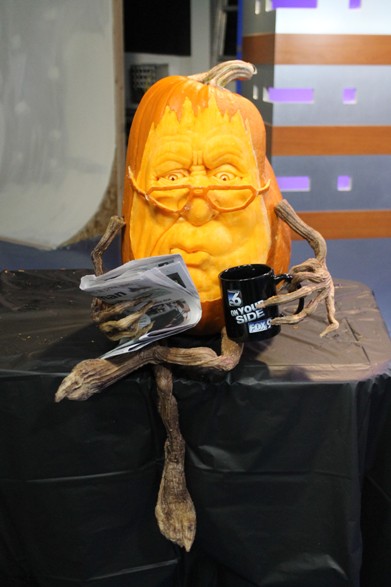
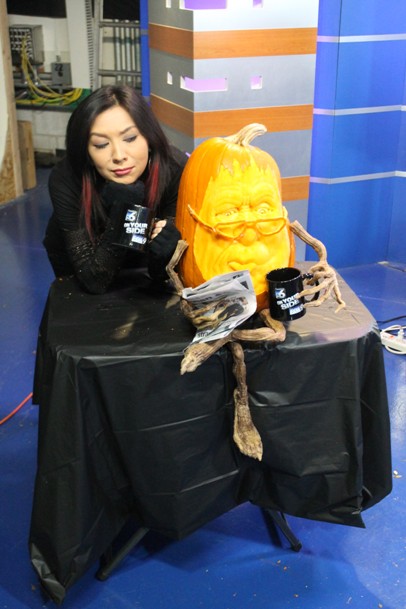
7. Pumpkin Appendages (let me explain….)
You know, there’s something about giving a pumpkin arms and legs that really just make it come to life! I already own a set of these pumpkin vine arms and legs (made by Villafane Studios), but they worked so amazingly last year that I decided I just HAD to have another pair this year! Ohhh, the endless possibilities!!! I would like to add that you can also get the pumpkin vine arms, legs, and stem off of Villafane Studios website. Either way, supplies are limited, so order soon if you to make sure you get a set. You will DEFINITELY have the coolest pumpkin on the block!
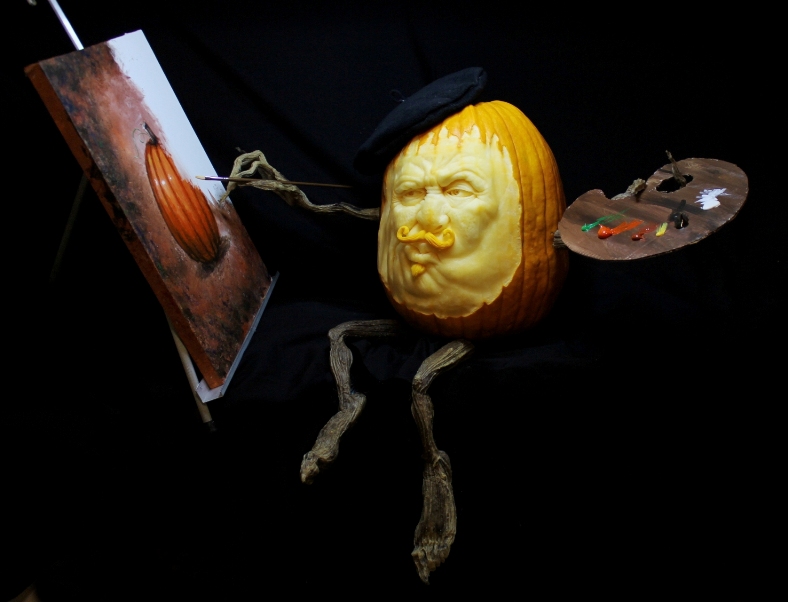
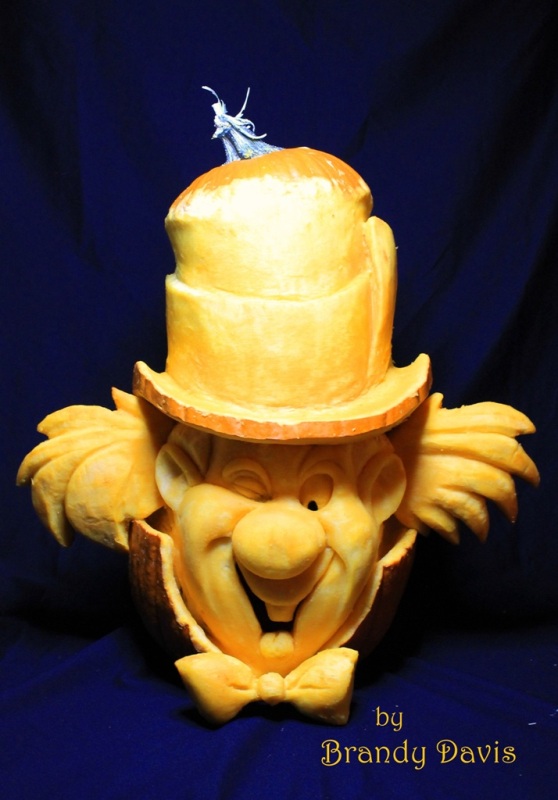
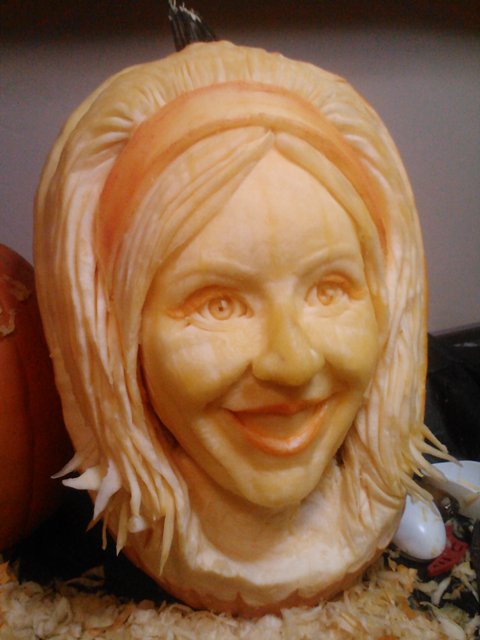
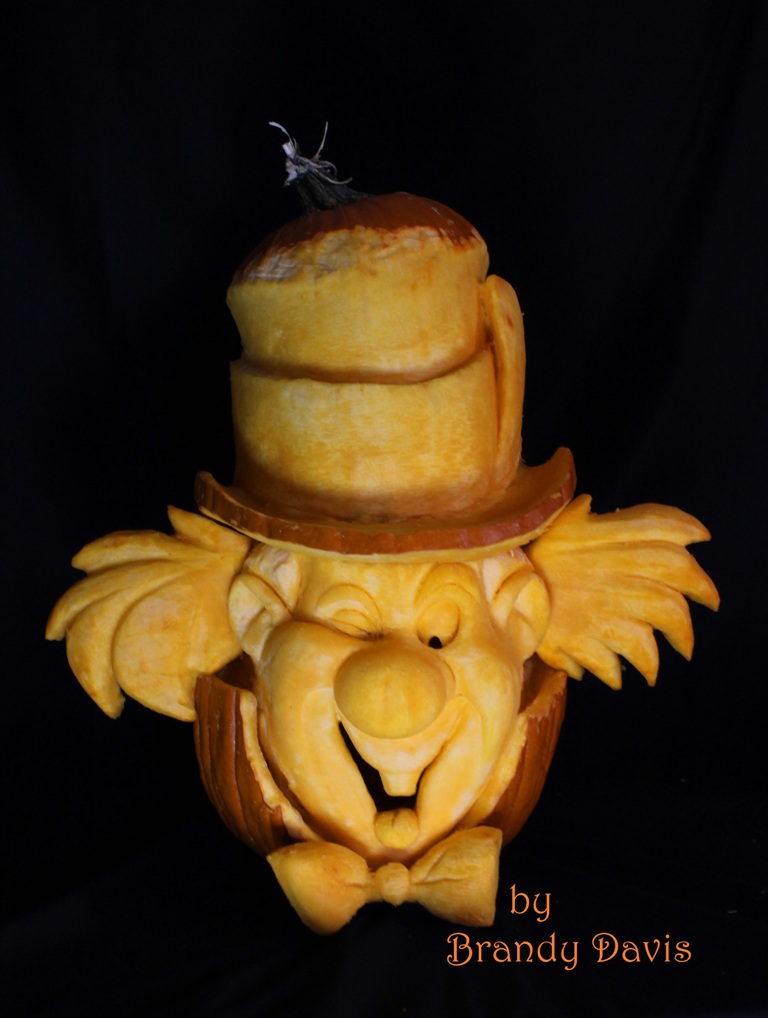
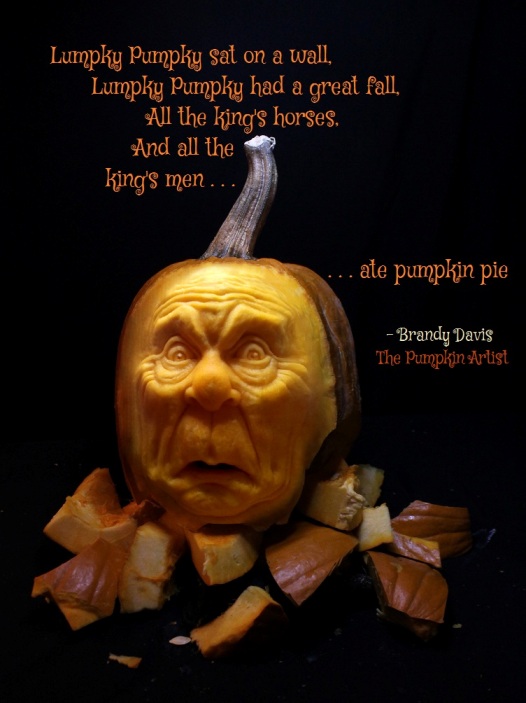
- “The Pumpkin Artist” 3D pumpkin by Brandy Davis
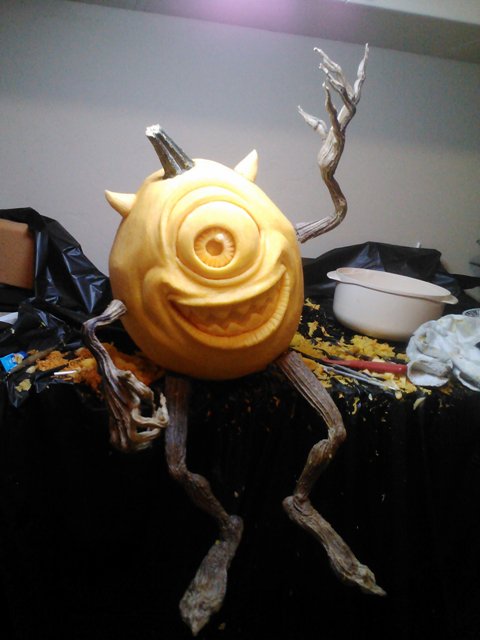
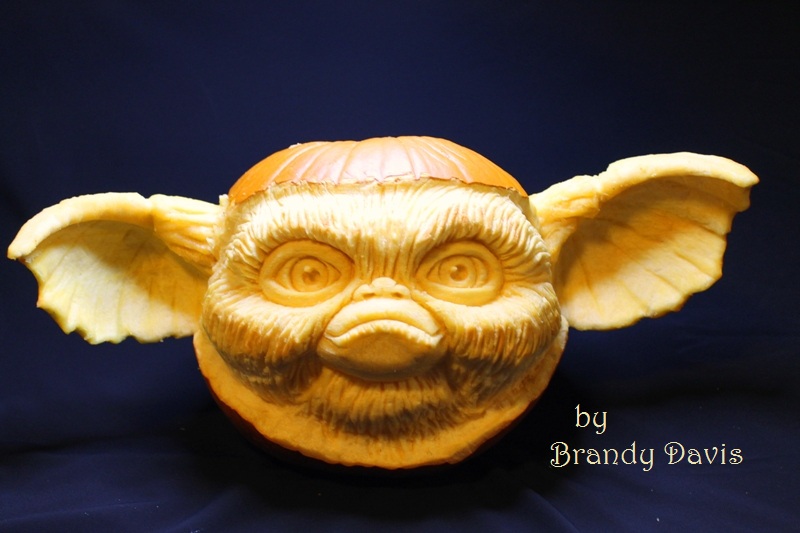
- “Mike Wazowski” 3D pumpkin carving by Brandy Davis. Yeah! The kids got a kick out of that one last year! 🙂
So as of now, that is my list. And I stress the, “as of now” part….I’m sure I’ll think of more tools to order in the coming days! And when I do, I’ll be sure to let you all know!
If you have any questions or suggestions, please feel free to leave them in the comment section below! I’ll be happy to answer anything I can. 🙂
Stay tuned for more recommendations as well as my exciting new pumpkin carving ventures this fall!!!
Happy Carving! 🙂