Oh man, oh man!!!! I have been waiting and waiting for this time of year!!! I feel like a little kid again…but not exactly for the candy…
Like a crazy person, back in August I started looking for pumpkins to practice my sculpting technique with. Now, if you are familiar with Idaho’s climate as well as their pumpkin season, then you are probably laughing at me right now: “Really? Pumpkins? In August??? Ha!” Well, my friends, in desperation I did the unthinkable and posted an ad on Craigslist asking if anyone had pumpkins in the middle of August. After a few replies from locals kindly stating I had cool-looking pumpkins but that I was crazy to think I was going to find any in the middle of August….guess what???? I FOUND SOME!!! Albeit, they were very unripe pumpkins, but hey, as they say “Beggars can’t be choosers!” So I was more than happy to take what I could get.
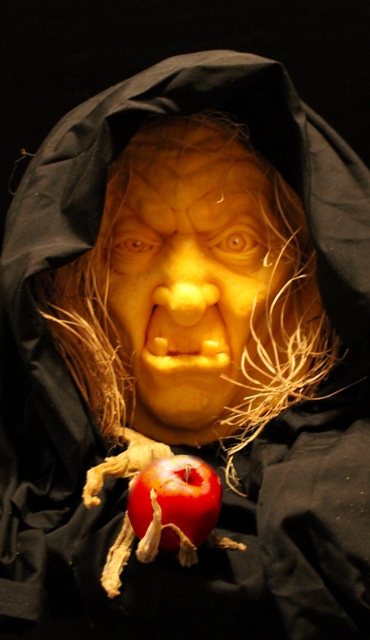
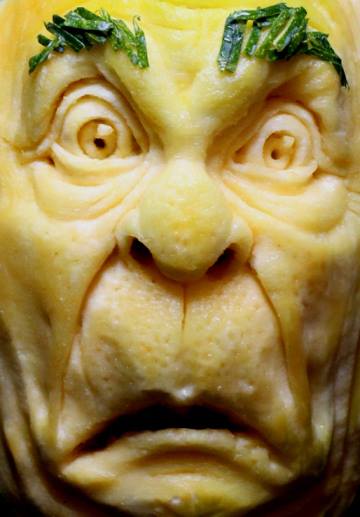
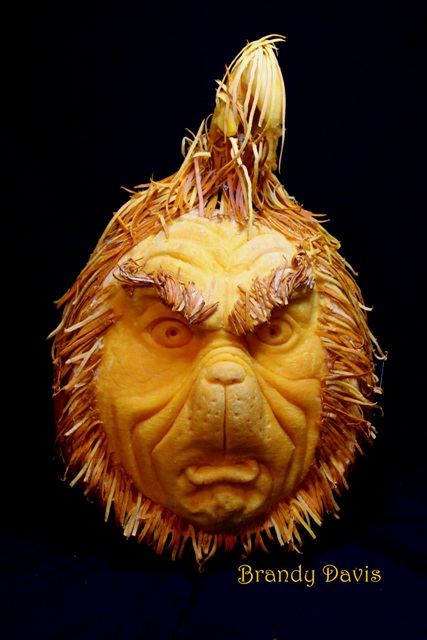
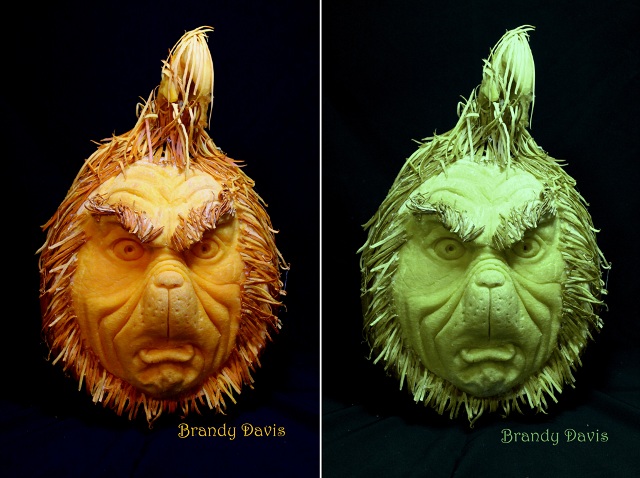
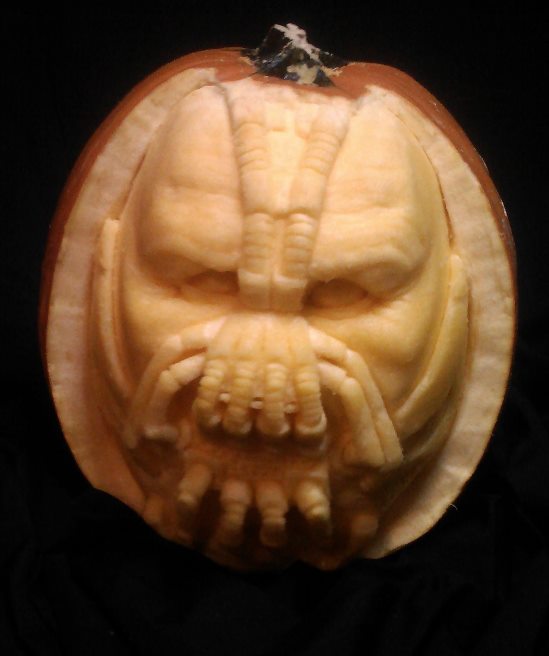
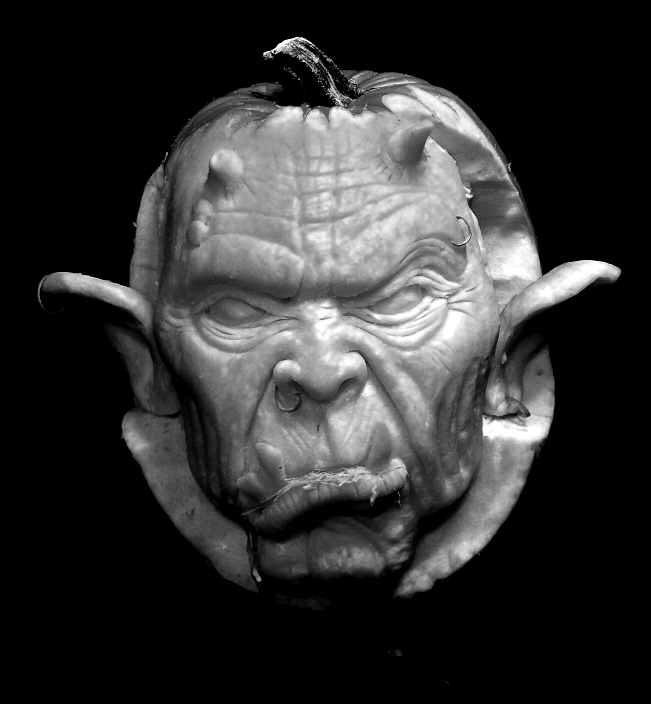
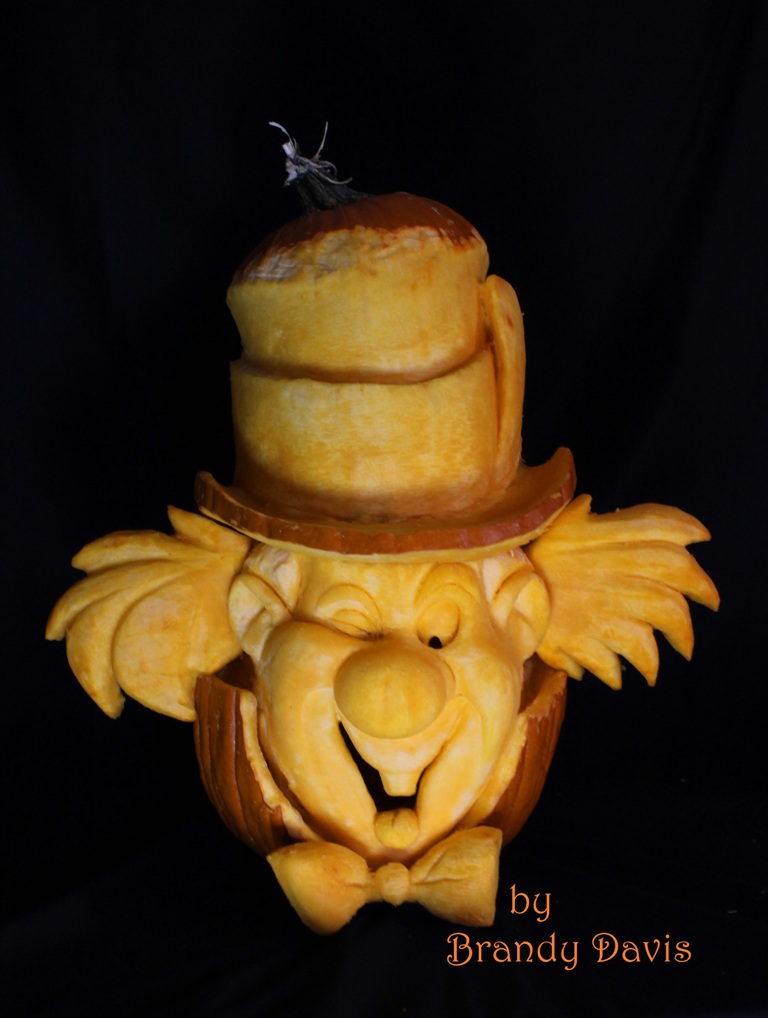
Anyhow, here is a peak at my first “practice” pumpkin of the season. I am currently working on speed and refining my carving technique – This pumpkin took me about 4 hours to sculpt with some pretty major setbacks. I’d already started this pumpkin knowing that it wasn’t going to have a very thick rind – But it was all I had at the moment. It turned out to have only a little over 1 inch of “pumpkin meat” to work with which is ridiculously terrible (normally I would have just abandoned the pumpkin as soon as I made the discovery) – the eyes were literally hanging on by threads. And again, in case you are wondering, the pale flesh and green eyebrows were due to the pumpkin being unripe.
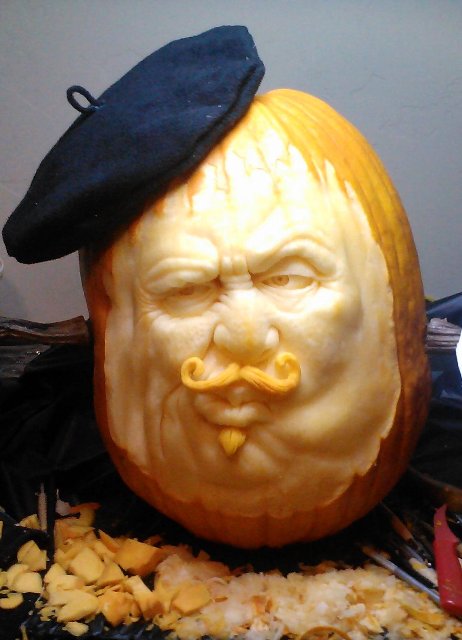
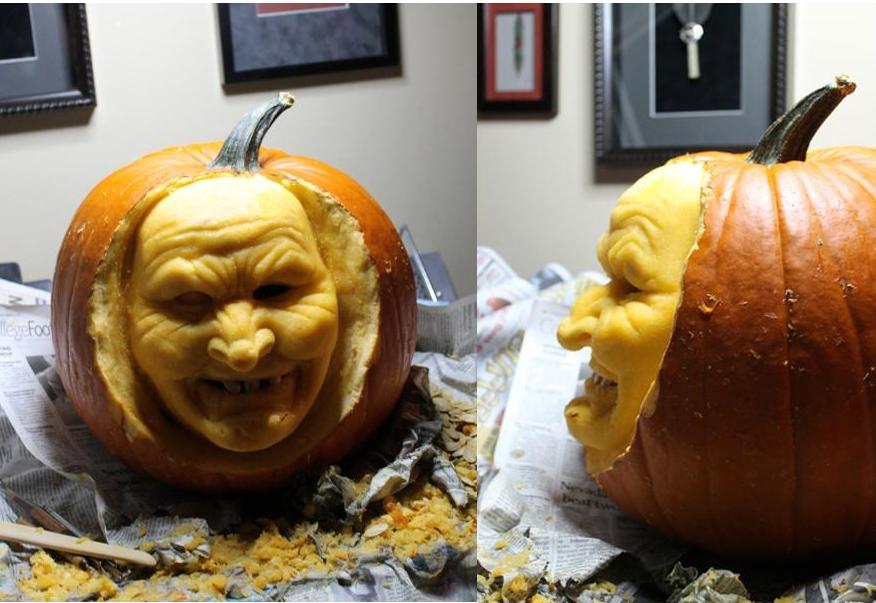
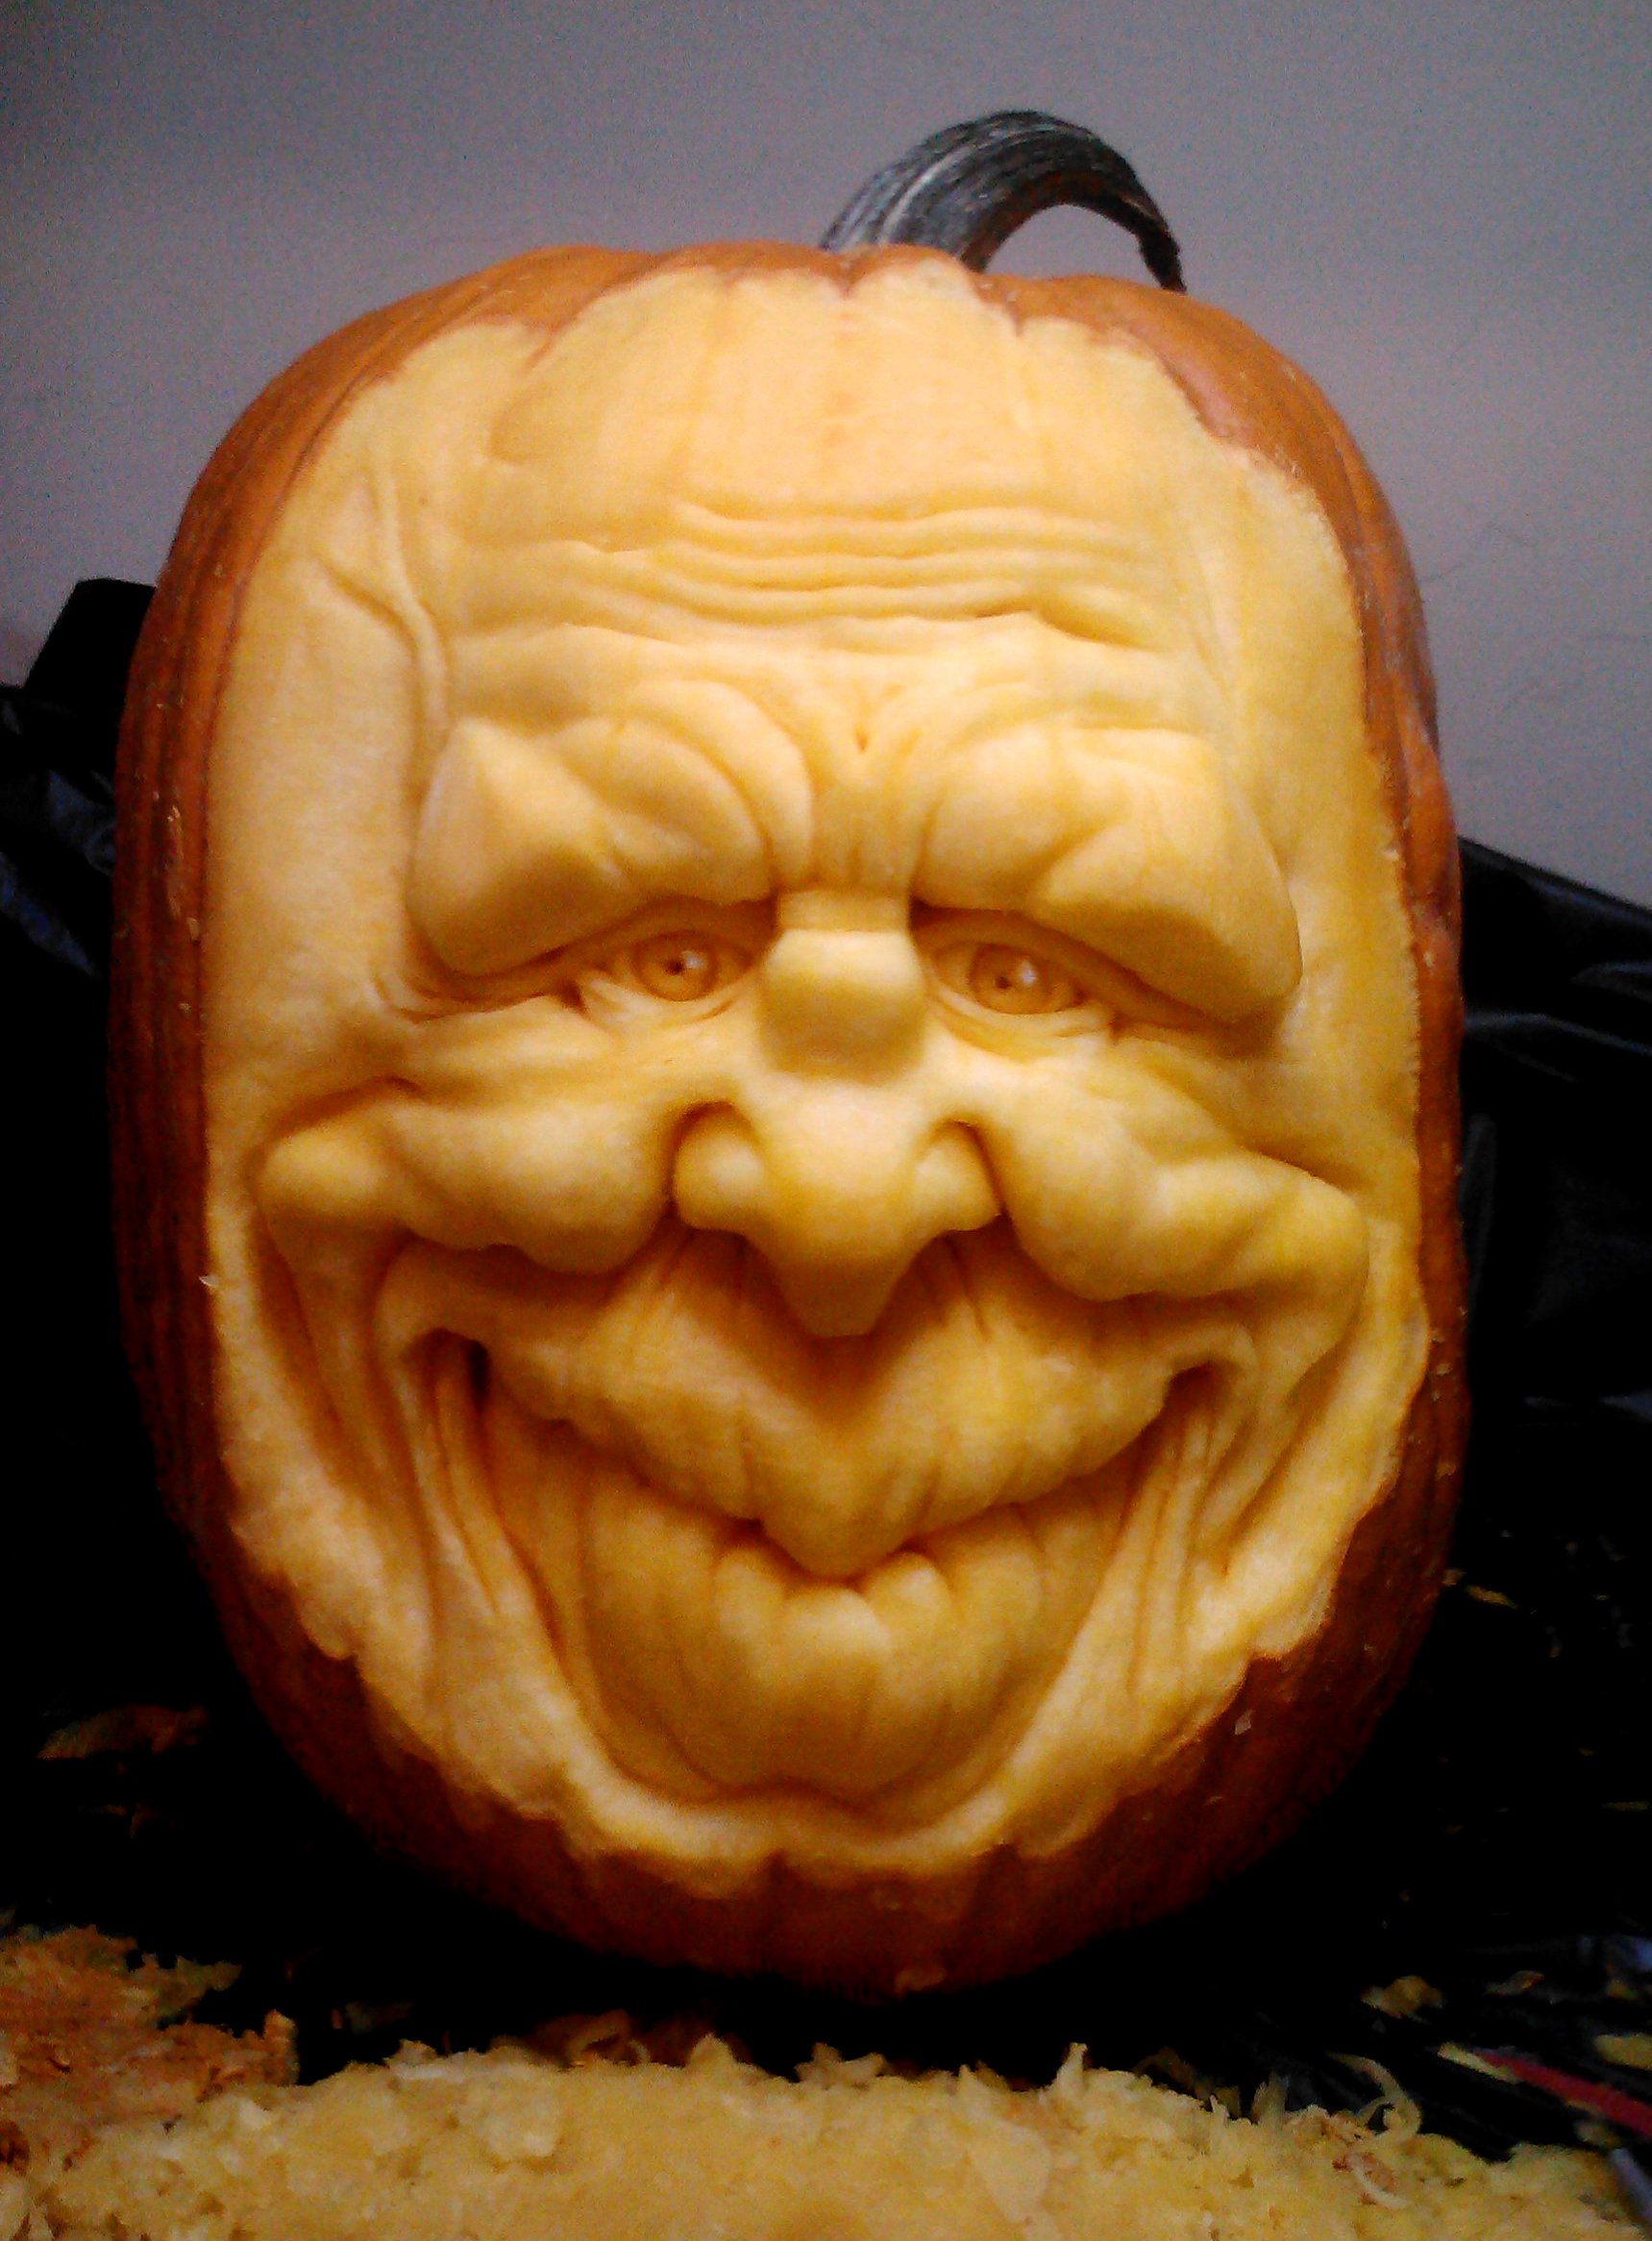
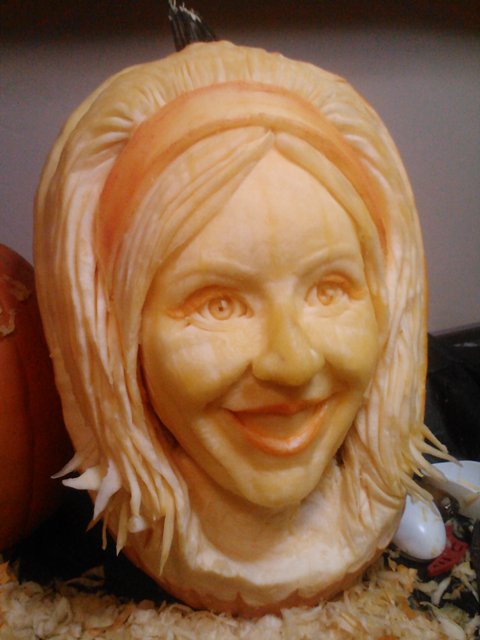
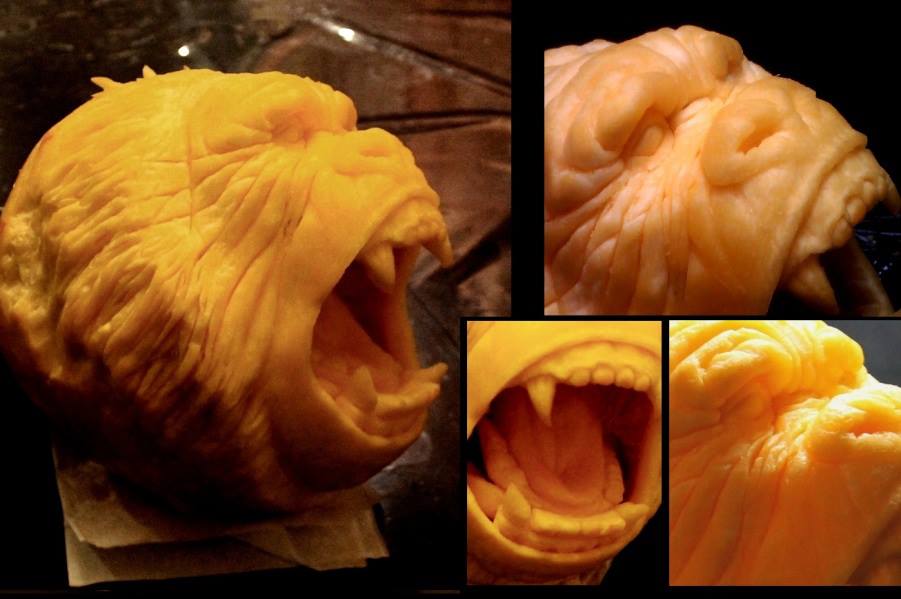
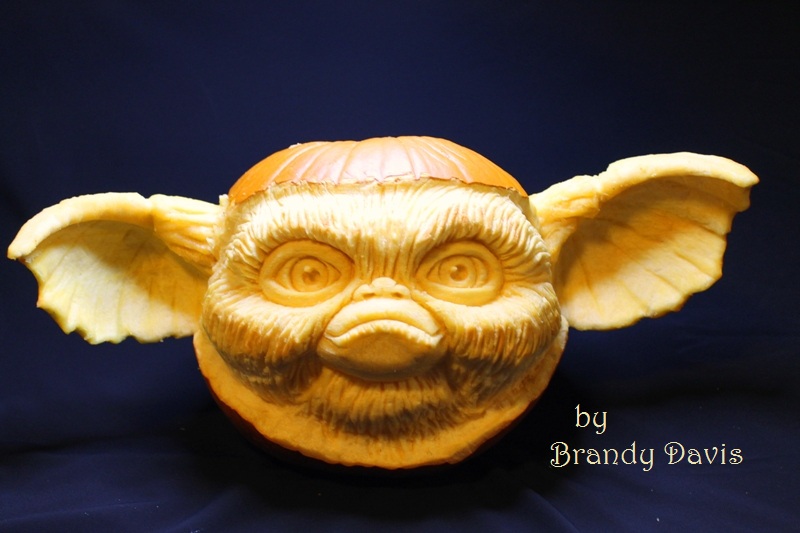
Now, at the time I received these pumpkins, I tried my hand at another, rather ambitious one. (Which was pretty dumb of me since I knew the pumpkin wall wasn’t going to be thick enough. And in case you are wondering how I could tell before I started carving, it’s simple. The pumpkin was entirely too light-weight for it’s size. If you are looking to do your own pumpkin sculpting this season, it is very important that you find pumpkins that are VERY heavy for their size. Generally, a heavy pumpkin means a lot of inner “substance.”)
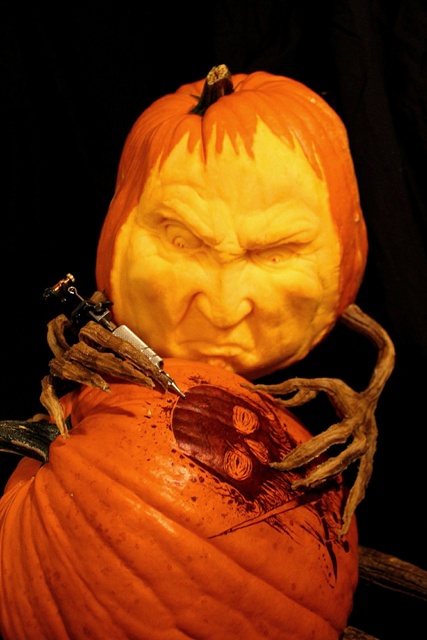
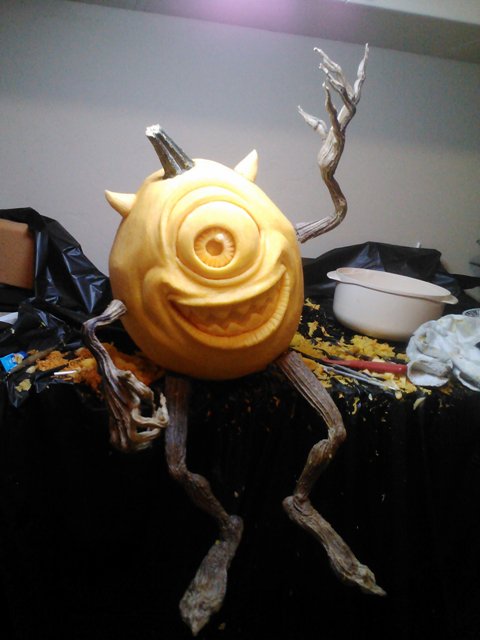
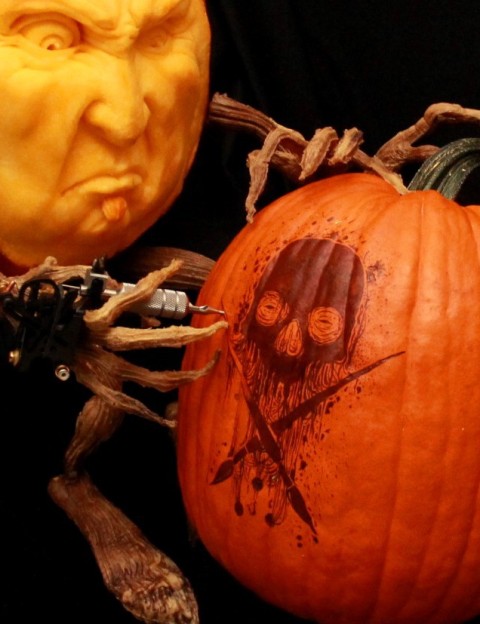
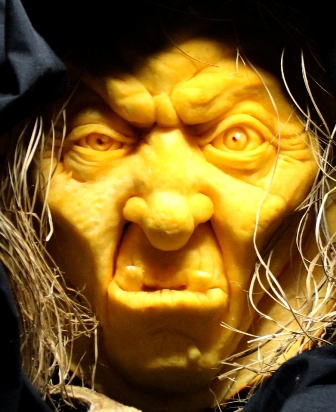
Again, it’s just a practice piece. I decided to try my hand at some detailed sculpting here. It took me about a solid 6 hours to sculpt this pumpkin. Wish I had some better pictures for ya – I will apologize in advanced for the crummy lighting – as you can see in the pictures, I tried various lighting setups to get all of the details, but for some reason I just could not get it right. Anyhow, this will do for now. I turned the pumpkin on it’s side to do this sculpture, so the stem is actually in the back of the pumpkin. In the bottom center, there is a picture of the inside of the mouth – In case anyone is wondering, I took a separate piece of pumpkin and sculpted the tongue and molars and attached it inside to create some depth. I will redo this pumpkin the future once I get a better pumpkin to work with and refine my skills a bit more. For the record, I really do not like this pumpkin….Let me say that again in case you missed it – For the record, I REALLY DO NOT LIKE THIS PUMPKIN. In my eyes, it is nowhere near my best work, nor is it what I intended the finished product to look like. Am I hard on myself? Sure. But that is how I force myself to become a better artist. I am sharing it anyway because I believe that as artists, every piece we do is just a stepping stone to becoming a better artist. Having said that, here is my pumpkin experiment gone awry:
Anyhow, that’s it for now, but only because I am already in the process of writing my next blog post with yet, another pumpkin to share with you all! So stay tuned!
If you want to try your hand at sculpting your own 3D pumpkins this year but don’t quite know where to start, please feel free to take a look at this post here for my recommendations on tools. Or, click the pumpkin logo on the side of my blog for all the resources you’ll need! Happy Carving!!!

