

A couple of weeks ago I mentioned that I was going to do a post on a helpful technique I frequently use when I am painting called “Cropping.”
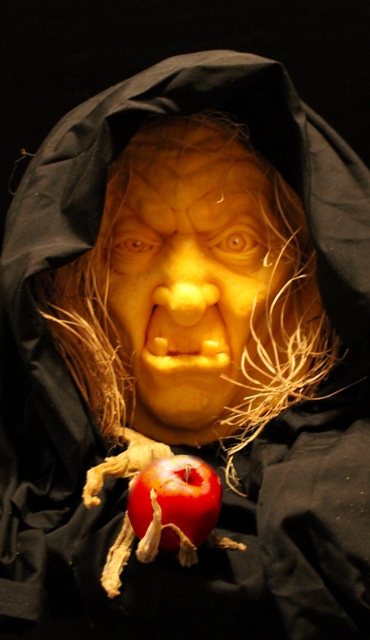
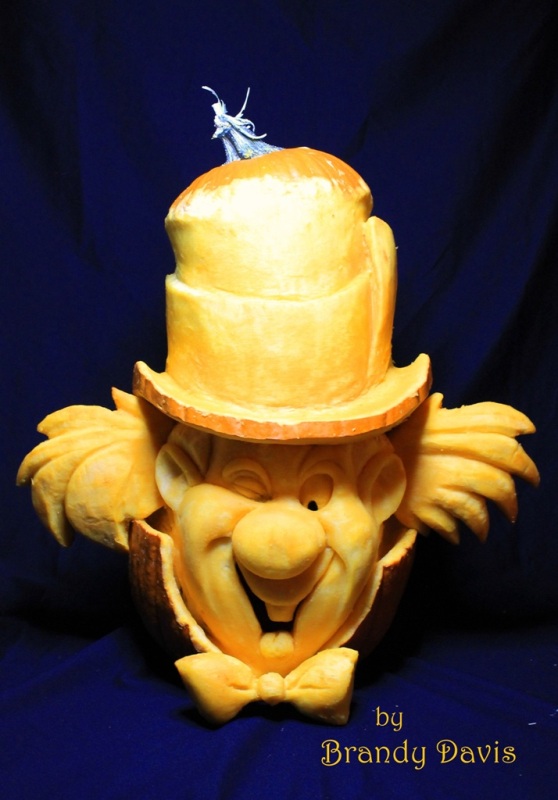
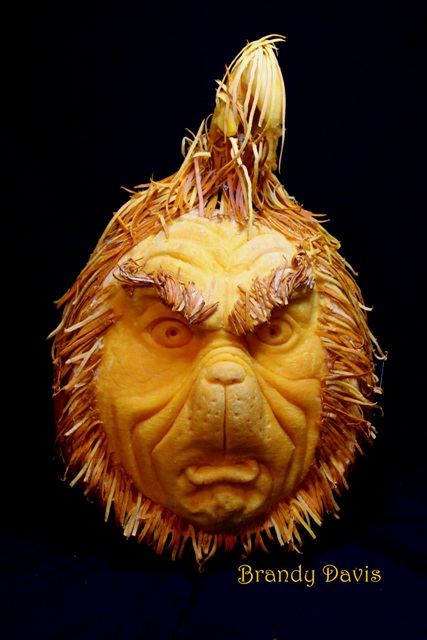
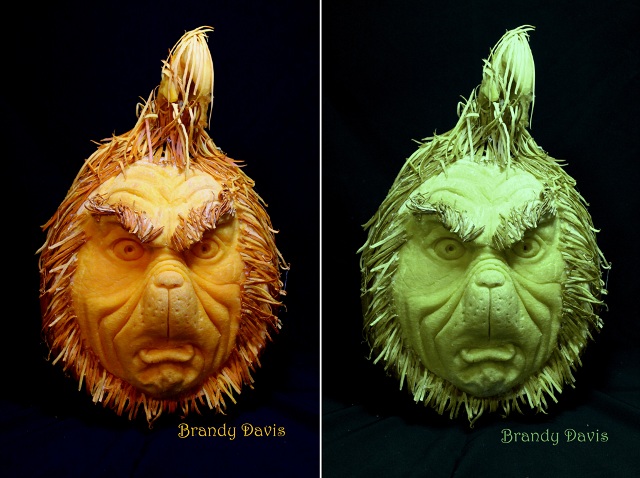
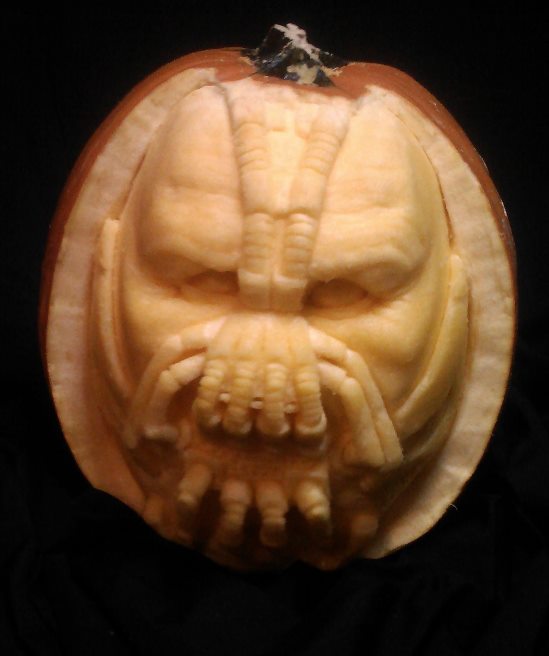
My latest canvas painting. I frequently use cropping to work on certain areas and make it less distracting for my eyes.
Now you may have heard the term “Cropping” before in terms of cropping a photo in a photo editing program on a computer or taking a physical photo and a pair of scissors and cropping the edges to size it down a bit. This technique is the same concept, meaning we are aiming to see only a certain portion of an image, but there will be no cutting involved (except to make our “cropping tool” – Full tutorial is below.).
So why is this technique helpful? Well, have you ever had a reference photo for a painting and were just completely overwhelmed by all of the details, values, and colors involved? You may not think the whole image affects how your eyes perceive it, but the optical illusion below fully demonstrates how our eyes can fool us when overwhelmed by too much information.
(If you are having trouble figuring out how these two squares could possibly be the same color, put your finger over the middle of the two where they connect and see for yourself….)
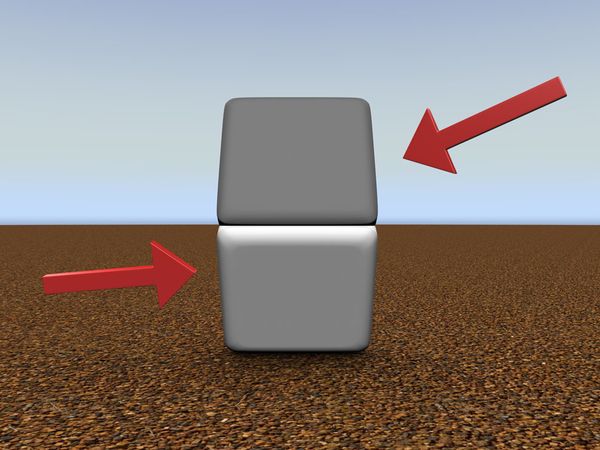
Congratulations! You have just used the “cropping” technique! 😉 You used your finger to block out part of an image so your eyes could better determine the true color value of the image.
Basically, cropping gets rid of “eye clutter” that is distracting you from true values, colors, and shapes.
So now I will show you how to easily make your own cropping tool:
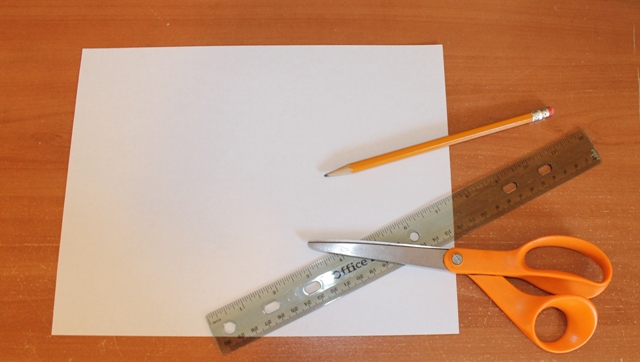
You will need a standard sheet of white paper (8 1/2″ x 11″), a pencil, a ruler, and a pair of scissors (Note: you can also use cardstock/poster board in place of the standard paper):
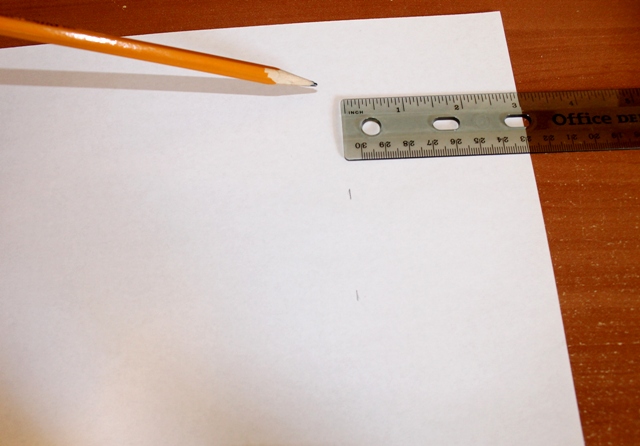
Now you will need to measure exactly 3 inches in from the border, all the way around the paper, and mark it accordingly. The picture below explains it better than I can:
The lines are hard to see, but they are there….
Once you have marked all the way around your paper, it should look like this:
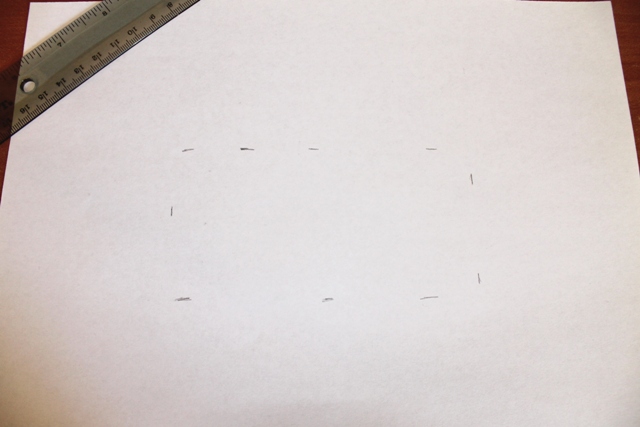
You’ll have created a smaller rectangle in the middle, exactly 3 inches away from all sides of the paper.
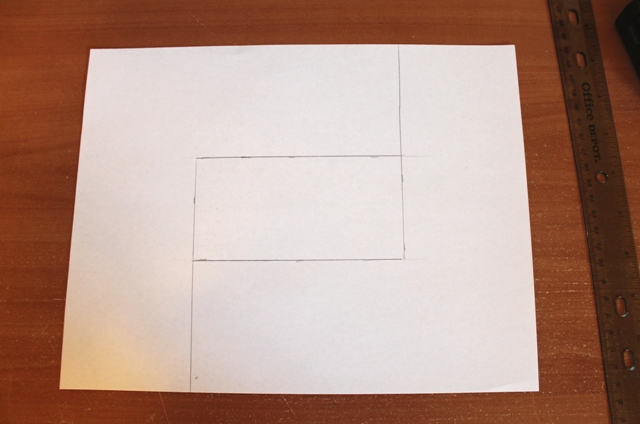
Then you will need to “connect the dots” to form an actual rectangle. Notice that I have extended the two lines from the shortest sides of the rectangle all the way to the edges of the paper – the left side extends down to the bottom, and the right side extends all the way up to the top:
Now simply take a pair of scissors and cut on the lines. Discard the small rectangle in the middle. This should be your end result:
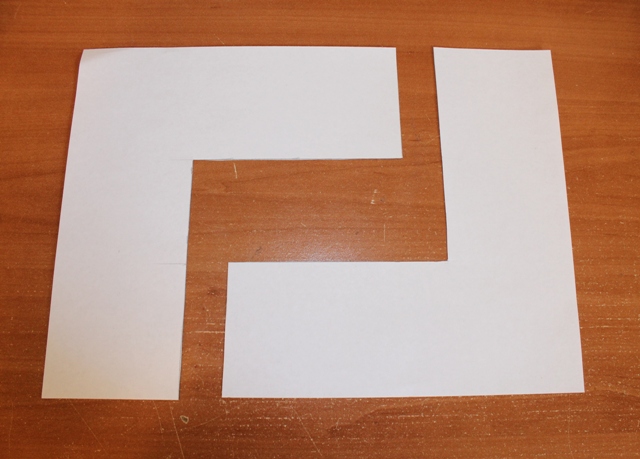
You now have two separate pieces you can use to “crop” your painting/drawing.
You have basically created two right angles that you can use as tools to block out certain portions of your painting/drawing that you do not wish to see while you are working on it.
Now I will demonstrate how to use it:
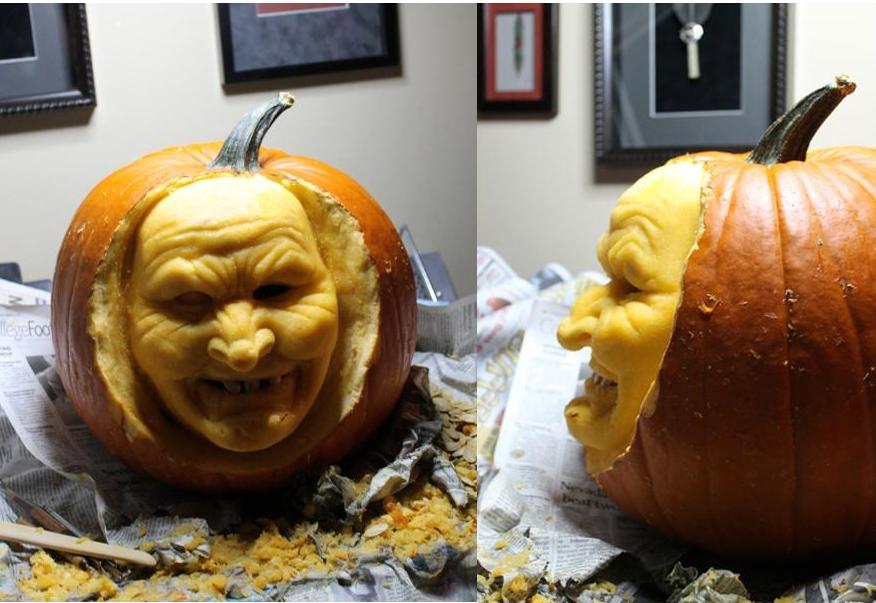
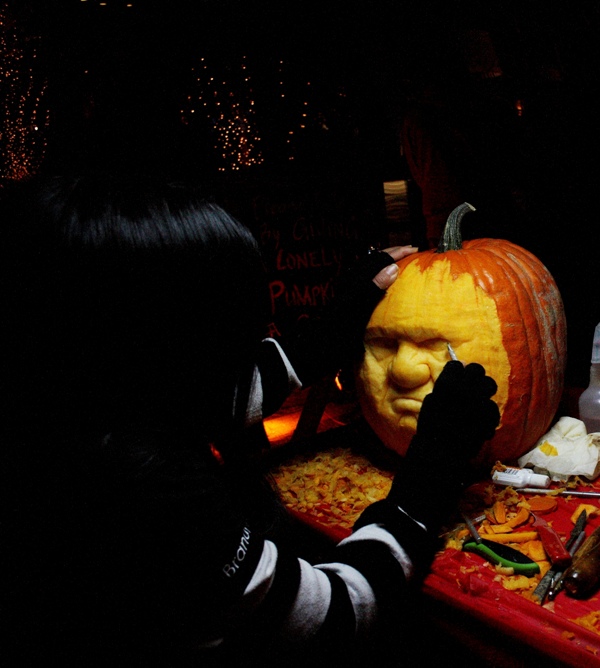
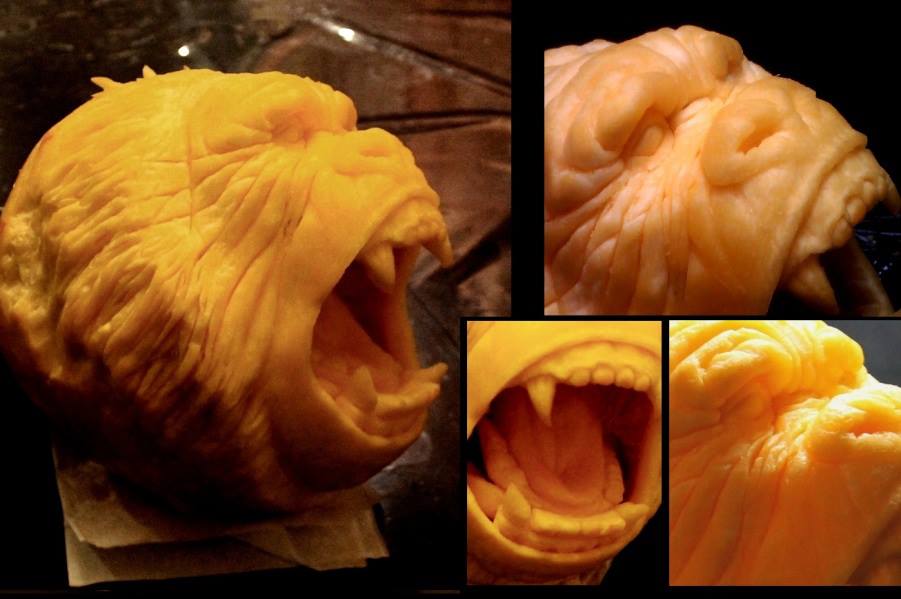
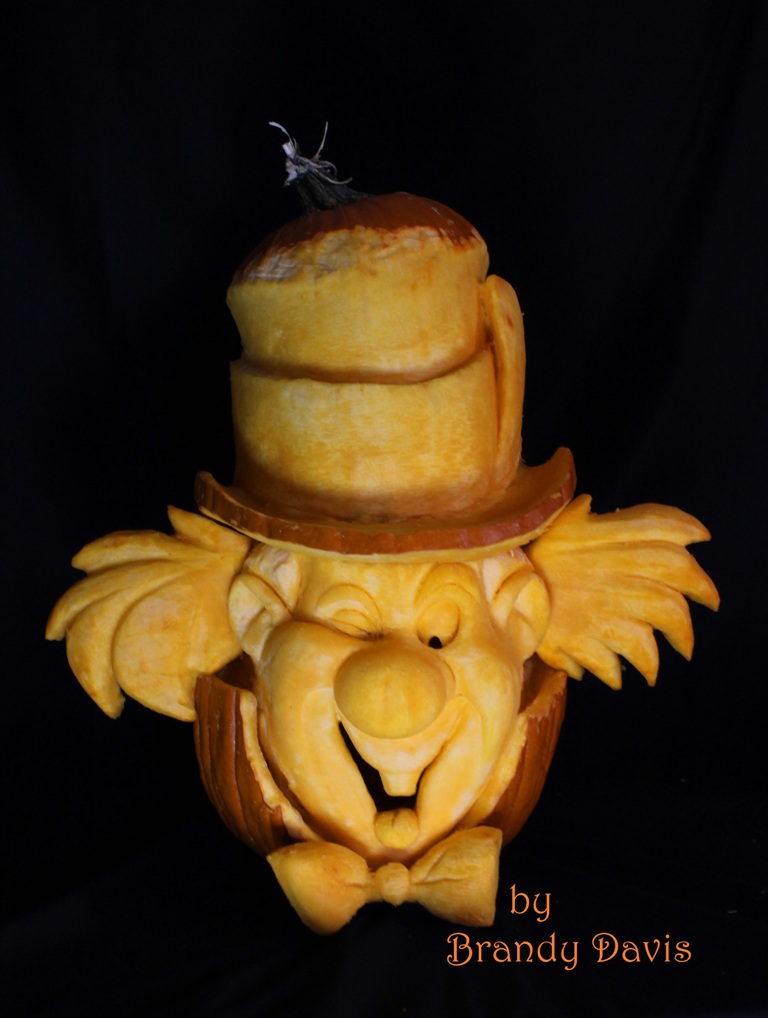
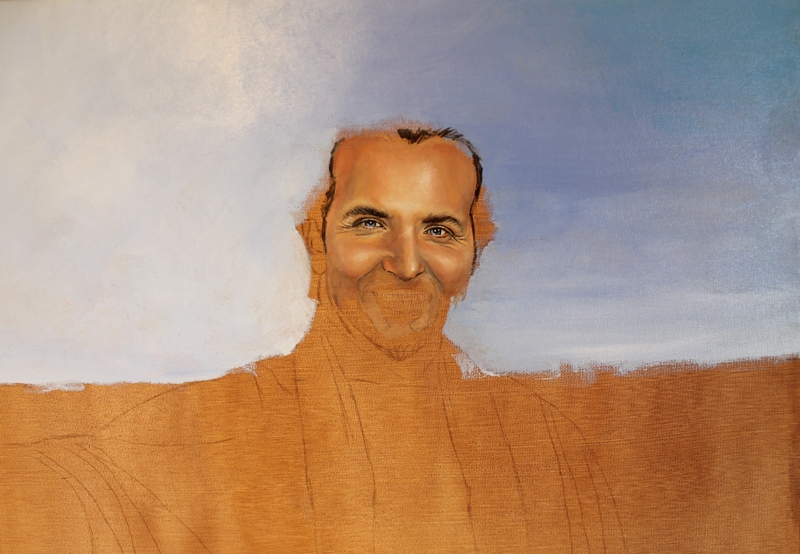
Here I have a rather large canvas painting I have been working on. As you can see, it is not done, but I have been using the cropping technique quite frequently on this piece. Here is what it looks like without “cropping”. I notice that when I work on it like this, my eyes frequently drift to the places that are not yet done, such as the mouth and chin area. It can be a bit discouraging seeing how much more work has to be done….and not to mention, it looks a little funny like this…:
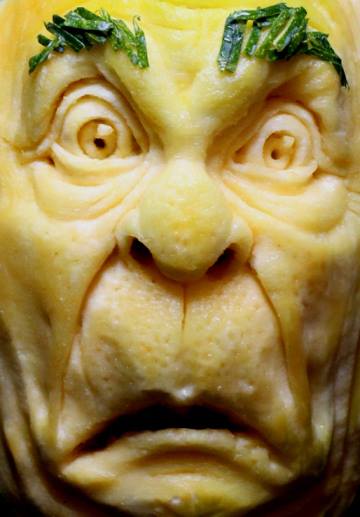
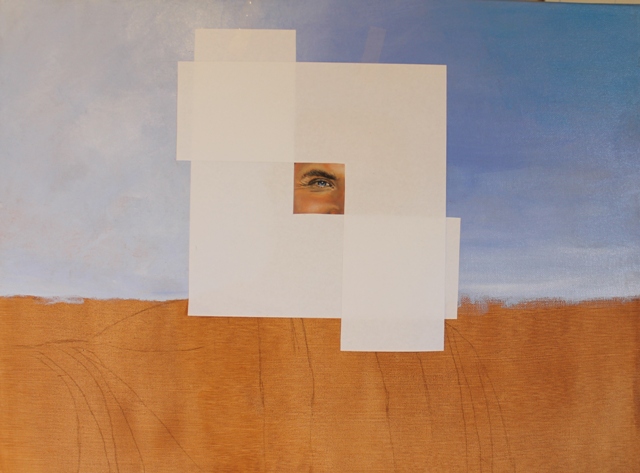
For this demonstration I will focus on one of his eyes. Below I have placed one of the right angles over the face and gently taped it onto the canvas. (Make sure your paint is COMPLETELY dry before you do this! I work with acrylic, so wet paint is little concern for me)

Already it looks better – I could technically leave it like this, and it would still be fairly effective, but for the full effect I will add on the other right angle:

And here is a closeup of what I would be seeing as I am painting:
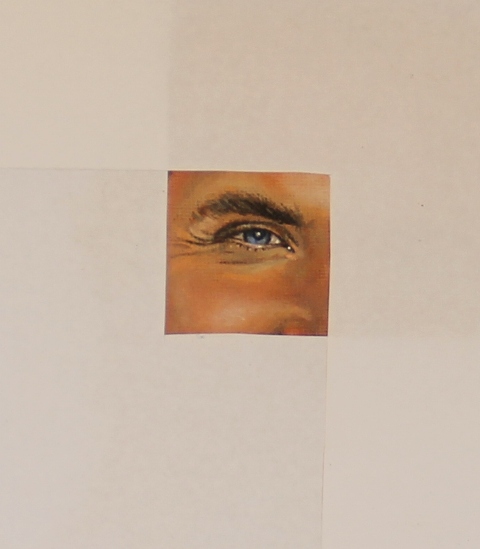
And even closer:
As you can see, this technique creates a focus, and again, minimizes eye clutter. And the great thing about these tools is that you can make the area as small or as large as you wish (although making the area larger kind of defeats the purpose…)
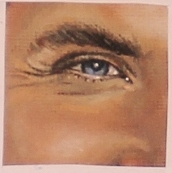
You can also use the same technique on your reference photo. If it is a physical reference photo, then just use the exact same steps as demonstrated above. If your image is a digital image on your computer, then simply “zoom in” to the desired area.
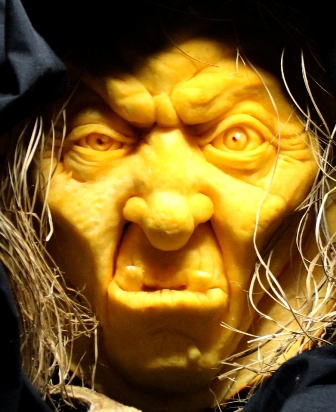
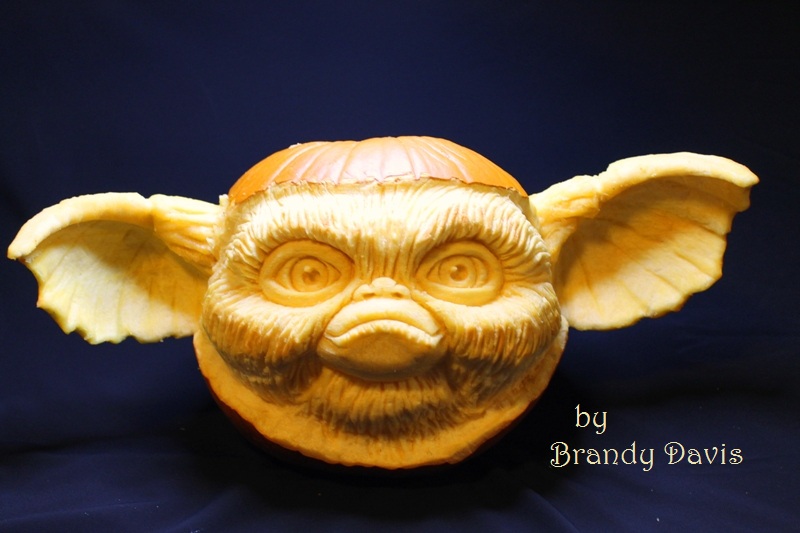
Here is my original image “zoomed in” to the same exact area I will be working on in my painting:

This technique is helpful to me because now I can clearly see what I need to work on in this area of the face.
Hopefully this technique will be helpful to you too – It can really make a world of difference. If you have been feeling overwhelmed/frustrated with your current drawing/painting, or if you just want to try out a new helpful painting technique, then give this method a try and let me know what you think! And as always, if you have any questions or concerns, feel free to leave them in the comment section below and I’ll answer to the best of my ability. 🙂
Thanks for visiting TheFeatherArtist.com!
And Happy Painting! 🙂