


(This is a basic list for anyone just beginning 3D pumpkin carving. For my separate list of pumpkin carving tools for the more advanced/serious pumpkin carver, click here. For a list of my favorite 3d pumpkin carving resources, click here. For a sneak peek into my personal 3D pumpkin carving toolbox, click here. To see what I use to carry my 3D pumpkin carving tools in, click here.)
As promised, I know there are a lot of you out there who want to try 3D pumpkin carving for your first time this year, and I don’t blame you – it really is fun, and the results can make for an impressive Halloween display! But a word of caution….3D pumpkin carving can be addictive…. 😉
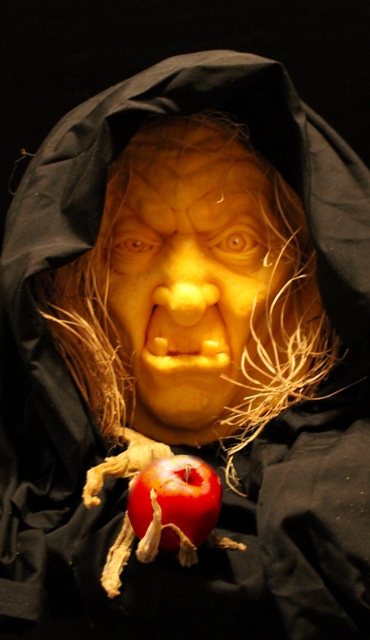
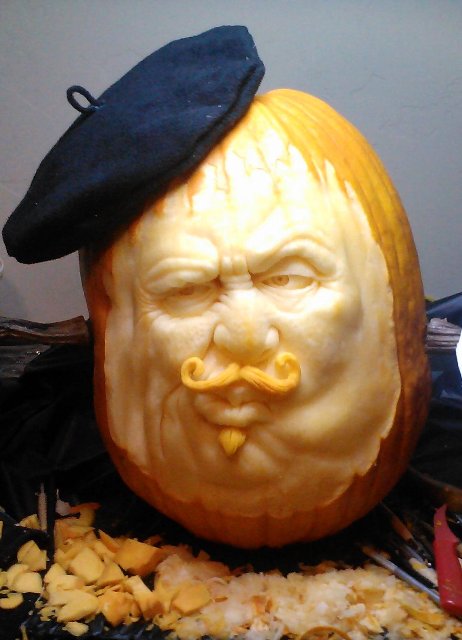
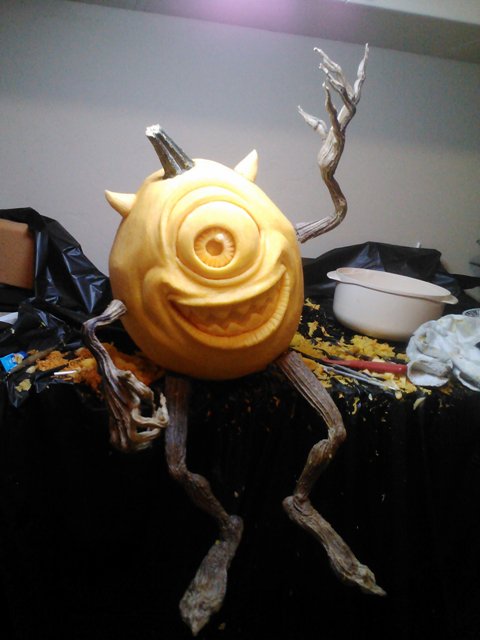
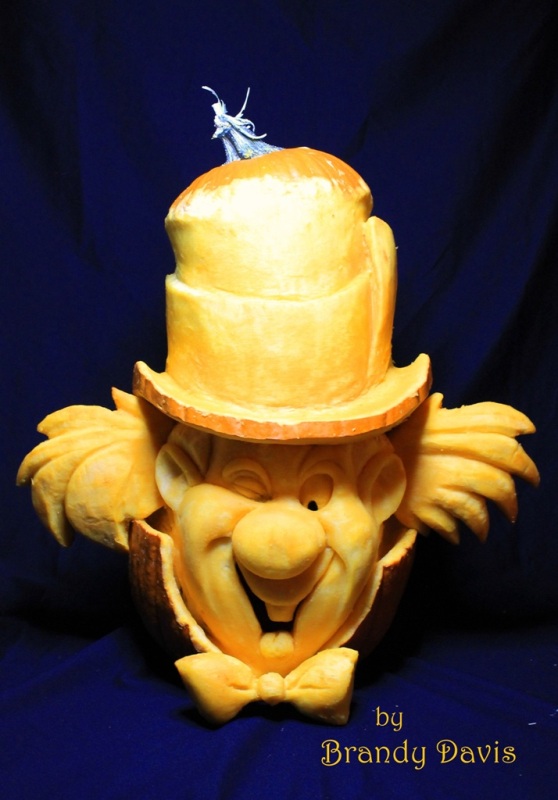
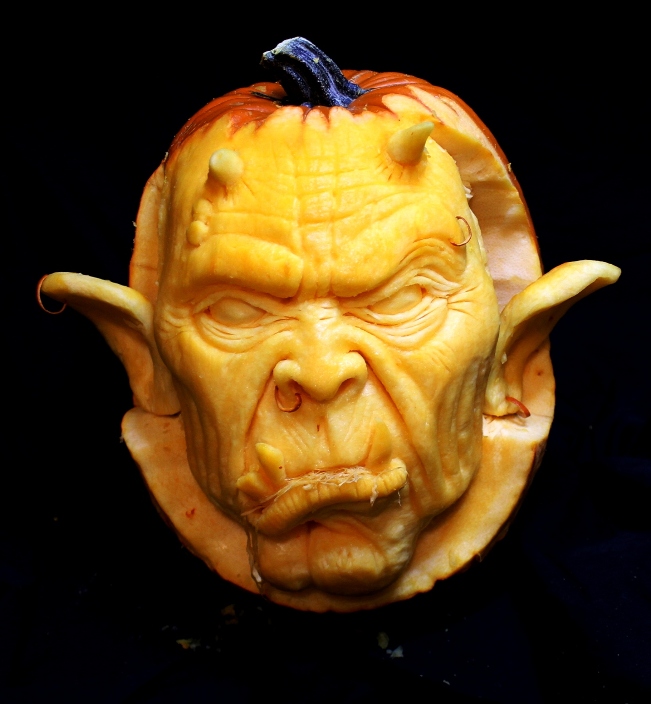
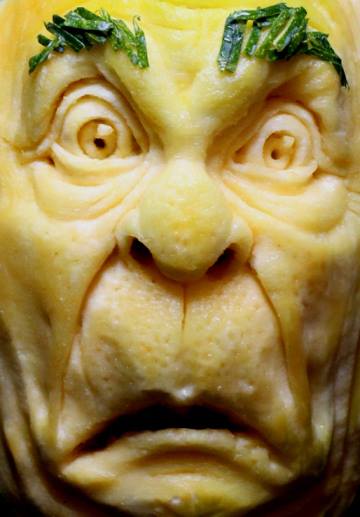
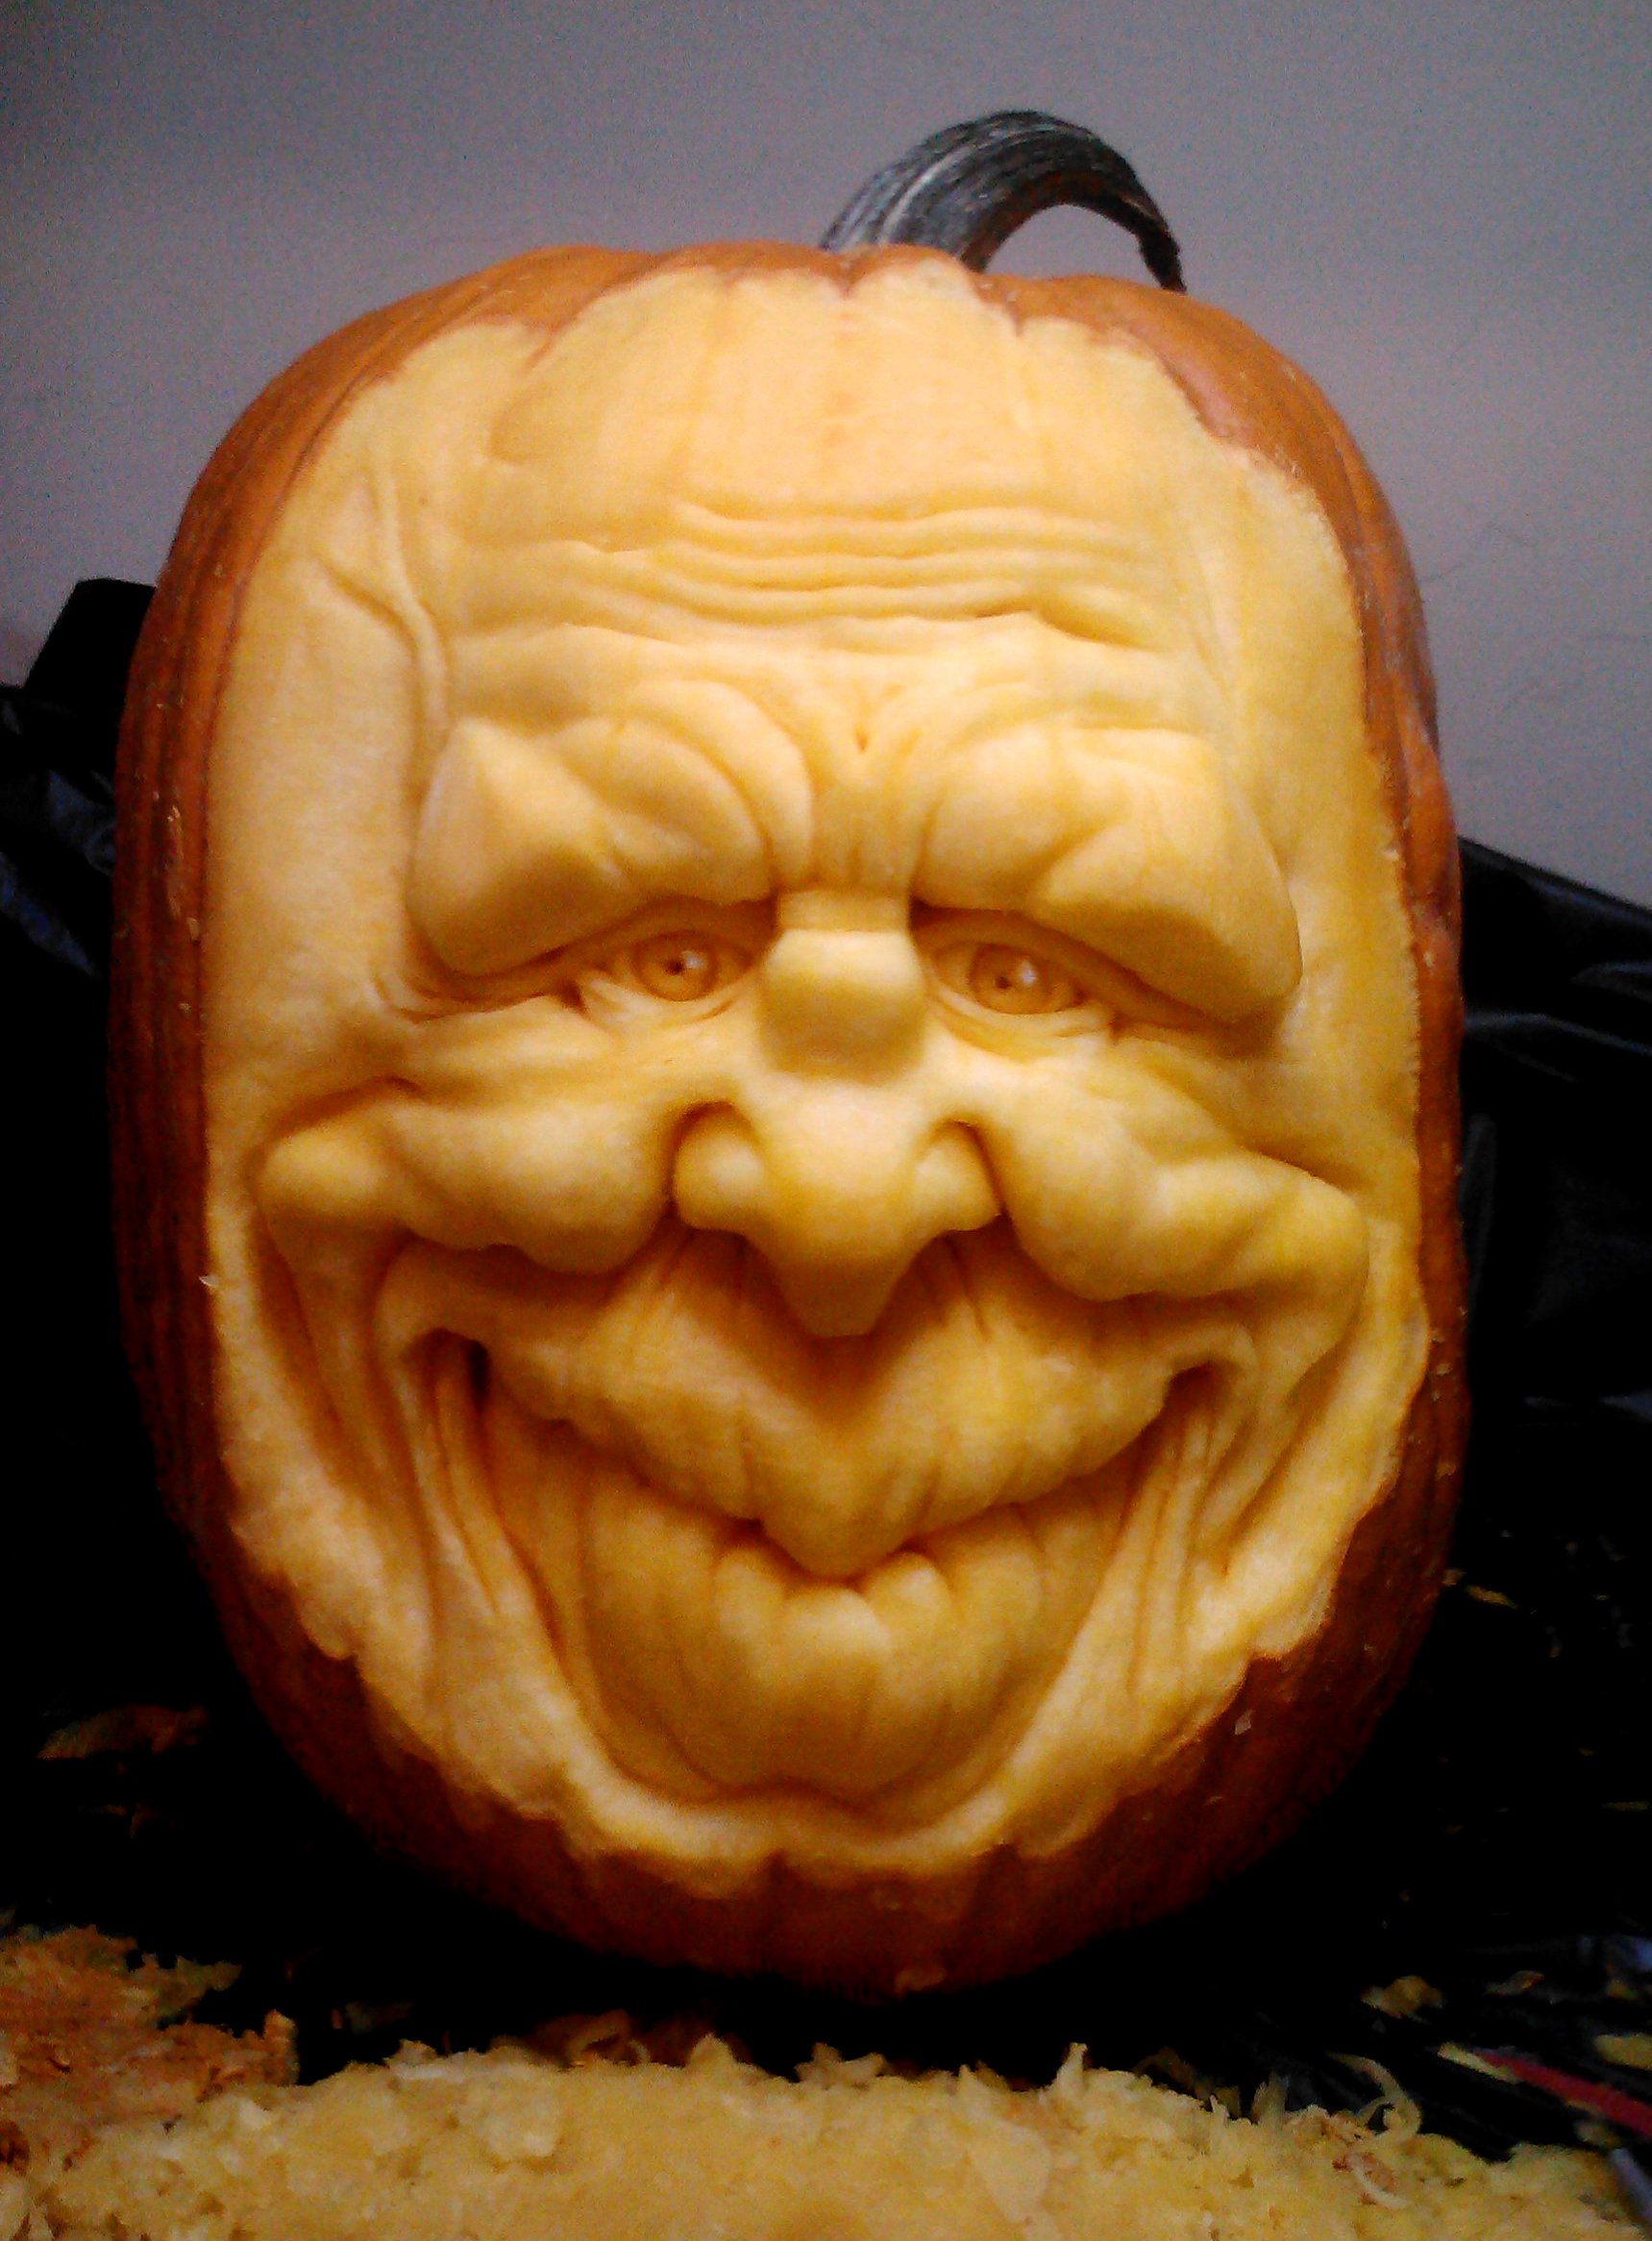
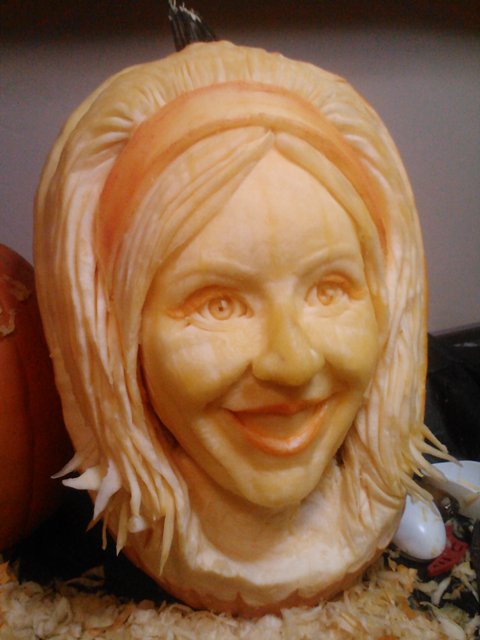
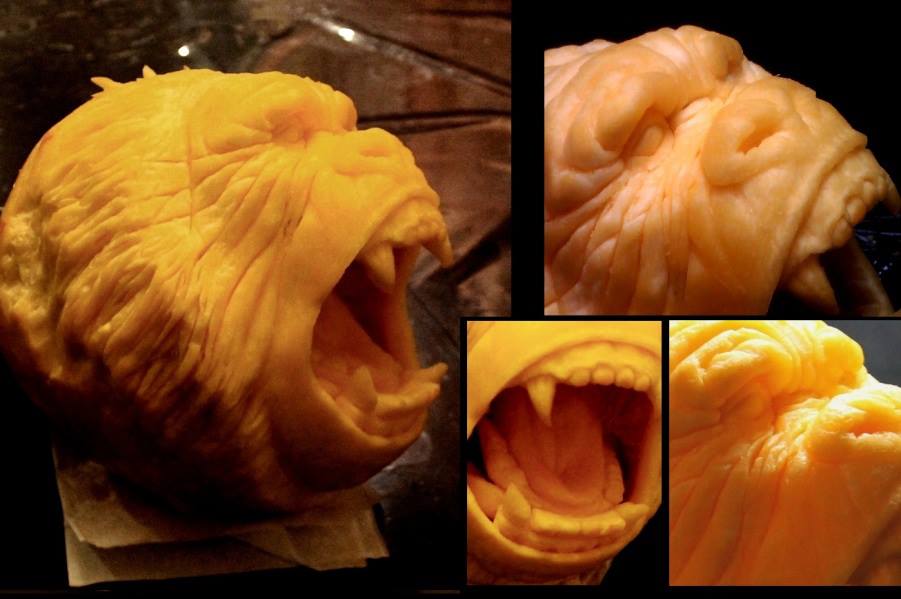
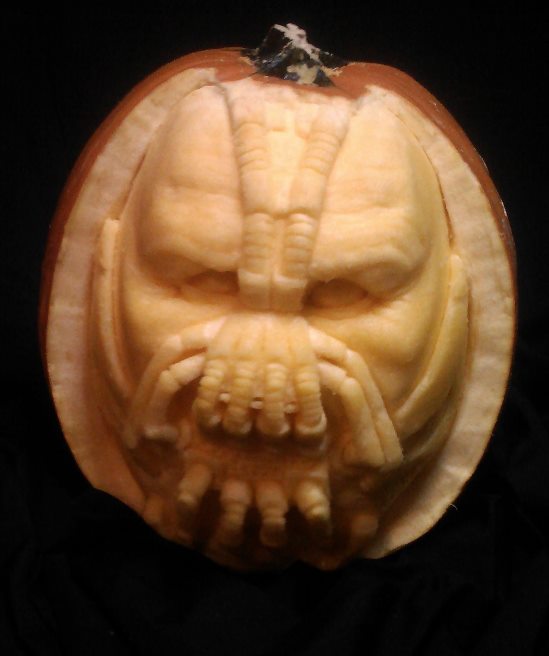
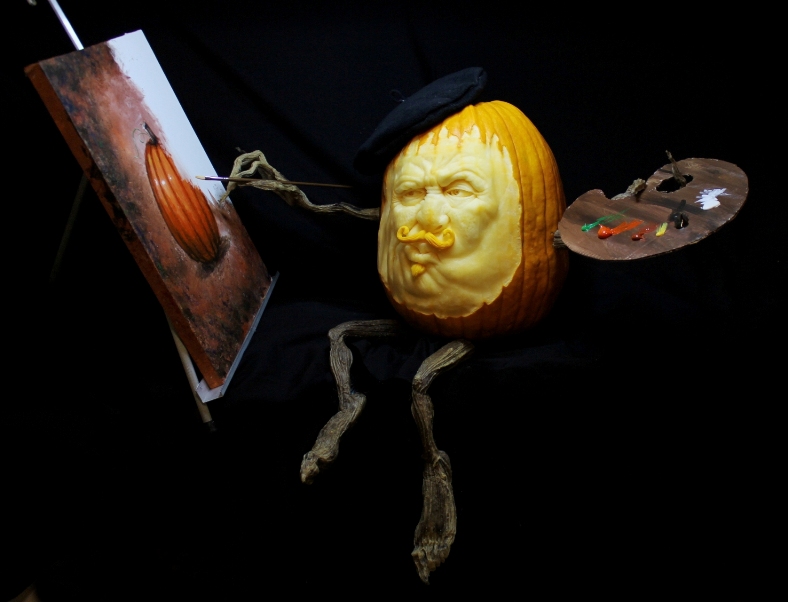
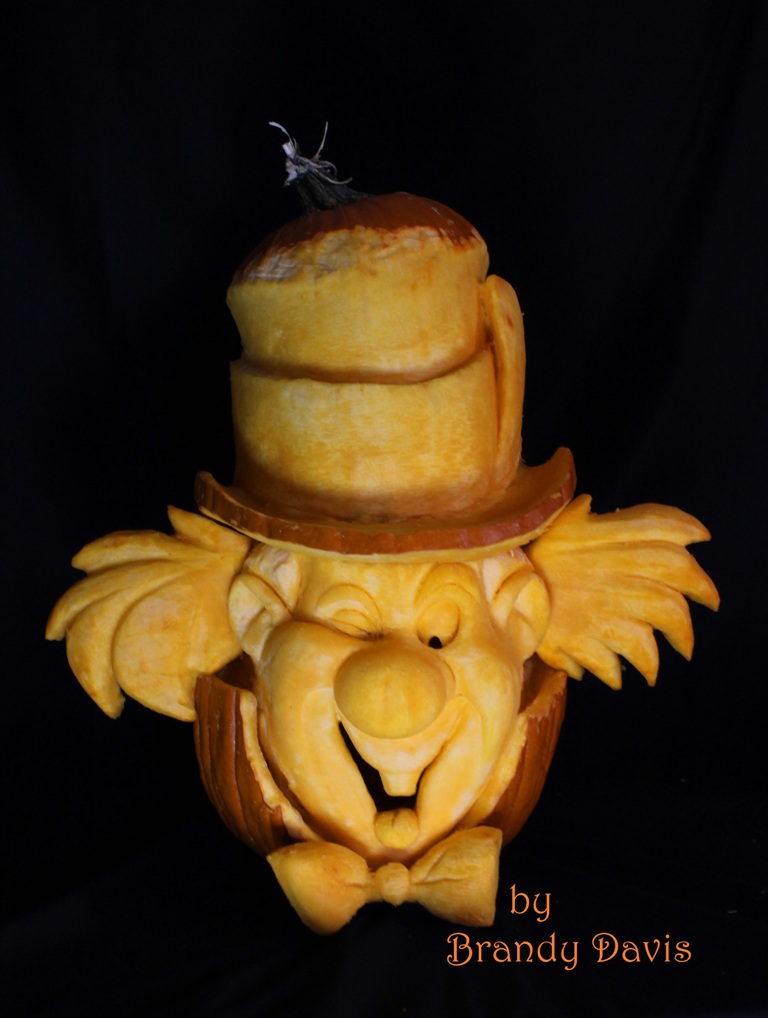
Now I am by no means a professional pumpkin carver (Update 2016: ok….so maybe I AM a professional pumpkin carver now….Geez! When did THAT happen???) – this is just something I like to do for fun – and on top of that, I love a challenge! Here are the pumpkins I have carved so far this year, and I plan on doing a few more for the season:

3D pumpkin carving by Brandy Davis

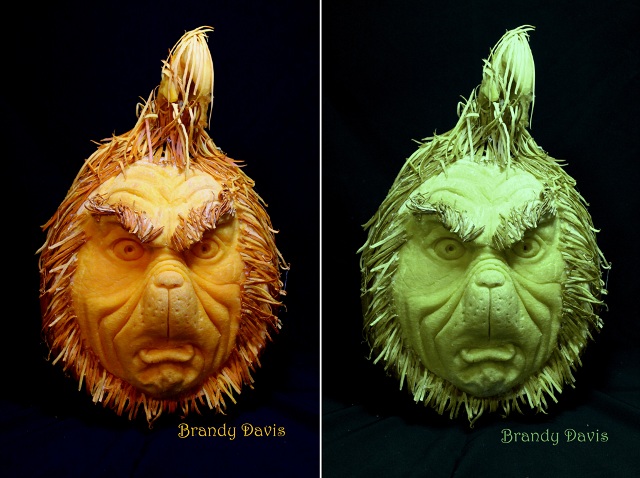
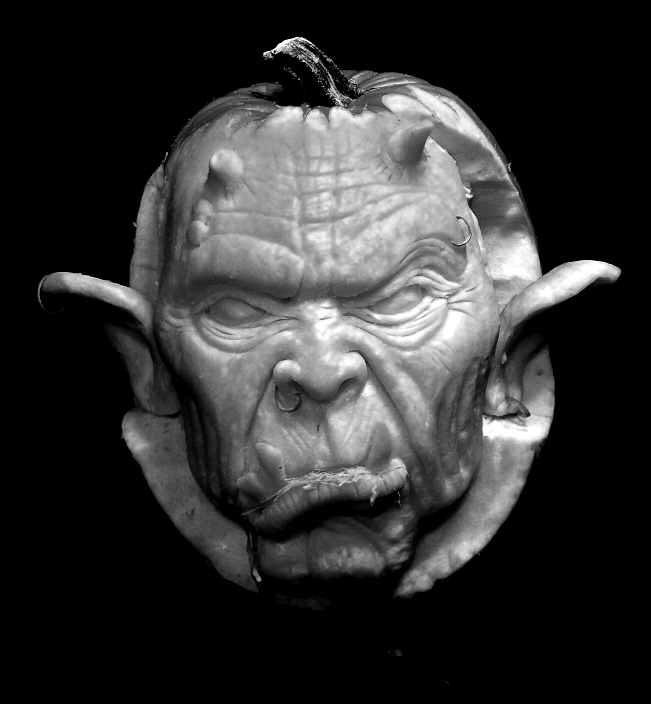
“Gizmo” 3D pumpkin carving by Brandy Davis
I also have time lapse videos showing the carving process for both of these pumpkins posted on my YouTube channel. Here they are below:
Now on to the “meat” of this post – carving tools. What I find works best for pumpkin sculpting is, well – sculpting tools. Clay, pottery, and wax sculpting tools to be exact. There is also another tool that is not a sculpting tool at all but is still a must-have! Most of these tools can be found in your local arts and craft stores (just call ahead to make sure they are in stock). In stores the prices range. However if you want to keep it simple, I have also provided a list and links to certain tools that you will need to help get you started, along with their role in the pumpkin sculpting process.
Below is a picture of what you will find in a clay sculpting kit. Why I will suggest this kit is because, although you will not use everything in it for pumpkin sculpting, a majority of it can be used – and for $4-6 (prices slightly vary daily) on Amazon.com, it is WAY cheaper than if you were to purchase a few of these tools separately. Click here to see this kit on Amazon.com.

Trademark Tools 75-S008 Hawk 8-Piece Pottery and Clay Modelling Tool Sculpture Set
The 3 items you will NOT use in this kit are:
- the wire clay cutter (the two wooden rods with wire attached)
- the metal scraper (the flat grey thing)
- the wooden potters rib (the flat wooden thing above the metal scraper)
Everything else will have a purpose:
- large loop tool (top of the photo) is used for scraping off outer pumpkin skin as well as blocking in large shapes.
- double-ended ribbon tool (2nd to left) is used for a majority of the sculpting
- needle tool (the sharp pointy one) is used for scraping out fine detail
- wooden modeling tool (to the very left) is used for smoothing out lines and fine detail
- yellow sponge: take a bit of water and wipe off stray “pumpkin bits” off the pumpkin’s shell and off of the carved area after you’re all done.
So again, a great value for starter tools. Now I will be honest and say I cannot attest to the quality of the tools above, but they got good reviews on Amazon, and again, for $5.45, I don’t think you’ll be disappointed.
So what do I personally use?
The photo below is of the exact set that I have, and although they are a bit higher in price at $13.10 (also with FREE shipping) at Amazon.com – they are Kemper brand, which I absolutely love! Click here to see them on Amazon.com. Very nice quality sculpting tools in my opinion!:

The set I personally have: Kemper Pottery Tool Kit
Now the tools below are the exact tools I use for sculpting very fine details in each pumpkin. They are Kemper brand, of course, and they are about 5 inches long and are excellent tools that will last a very long time if you treat them well. Mine have lasted for a few years already even with some vigorous use. Click here to see this sculpting tool set on Amazon.com.

Kemper Mini Ribbon Sculpting Tool Set -6 Pieces
Now for my secret weapon that isn’t really a sculpting tool at all….until now……

Ok…remember, my blog is all about unorthodox tips! 🙂
Yes, you read the label correctly…that is, in fact, a Ped Egg – please allow me to explain. There are multiple ways to peel the skin off of a pumpkin (although, ironically, a traditional “vegetable peeler” isn’t one of them), the one most commonly used is the large loop tool in the 1st photo of tools above. But to lessen the strain on my loop tools (once you start carving, you’ll understand), I have employed Ped Egg to scrape off the top surface of pumpkin skin. And I suppose you could use a zester, or possibly a cheese grater….I’m not sure. But Ped Egg really won me over because it conveniently has a container to catch all of the pumpkin shavings AND the underside also has a “buffer”….ok, let’s be honest – it’s a piece very fine grit sandpaper (the black things) to help smooth out the surface when you’re all done, but nonetheless it is really an awesome little tool for 3D pumpkin carving! I HIGHLY recommend it! Click here to see Ped Egg on Amazon.com.

The “zesty” side of Ped Egg
So those are the basics, and I recommend taking a stroll into your kitchen and seeing what else you can use as a cool pumpkin carving tool (and if it is not yours, please ask permission first…things can and will break while pumpkin sculpting – pumpkin flesh is stronger than you think…) Just remember, whatever you decide to use just use them with care and keep your tools clean after each use and they’ll last you quite a long time!
Now, fair warning – whether you have sculpting talent or not, 3D pumpkin carving, or pumpkin “sculpting” will take some getting used to. It’s not like clay sculpting where you can easily add or remove pieces as needed. With 3D pumpkin carving, once you scrape something off it’s pretty much gone (technically….). Also, there really is no telling how thick a pumpkin’s wall is going to be, so punching through to the center of the pumpkin is always a risk when carving a face with deep-set features. Just remember, bigger isn’t always better, but heavier is (In other words, find a pumpkin that is heavy for its size). But having said that, it’s all about experiencing the process for yourself a few times to get an idea of what works and what doesn’t. So if your first one doesn’t work out the way you expected it, (mine didn’t either…), then just turn it around and start over again, or try again on a whole new pumpkin. The key? – Just have fun! – It’s Halloween!!!!!
Now stop reading, go get some sculpting tools, put Michael Jackson’s “Thriller” on your iPod and go start carving!
Happy Halloween!
Let me know what kind of cool pumpkin creations you come up with this year!
16 Responses to 3D Pumpkin Carving Tools